

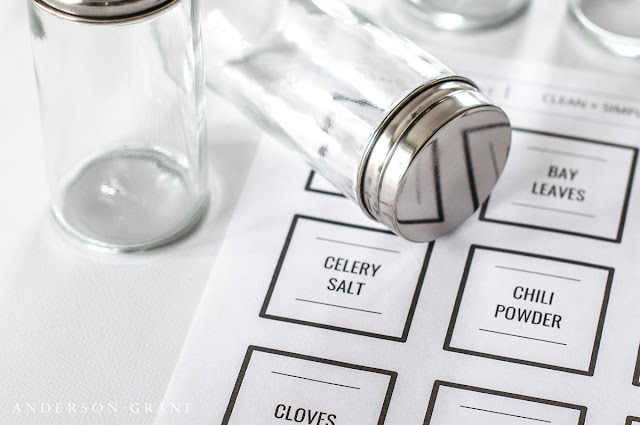
Want to make weekly house cleaning quick, easy, and painless? Keep a cleaning supply caddy well stocked with cleaners, rags, and tools that can be transported throughout the home so that everything is with you when needed.


Skip the chemicals of traditional cleaners and learn how to make your own natural and budget-friendly window cleaner with just a few pantry ingredients.


Have you ever wandered through your favorite clothing store and wondered how they get those neat little stacks of perfectly folded shirts? Although none of us live in a house with our own boutique shop for displaying what we wear, there is no reason why the storage of our clothes can't look just as tidy.
Whether your shirts are stored on a shelf in your closet or tucked away in a drawer, the folding technique is the same. It doesn't take much time to do it correctly, and it is a pretty fool-proof process. Knowing the proper way to fold your clothing will not only make your closet look neater, but will also help to keep your clothes wrinkle free and ready to wear.

Today we'll focus on the task of folding your shirts. But, keep an eye out for future posts where we look at folding pants, pajamas, and more.

Working on a flat surface, lay your shirt face down with its arms out to the sides. Smooth any wrinkles or creases in the fabric.
difficult to fold. Folding them face up allows you
to lay the shirts out neatly without any wrinkles before
folding them in the same manner.
The secret behind how stores get shirts quickly folded in the exact same size is that they use plastic folding boards as they make their folds. You can buy different versions of these online or you could simply use a cutting board, cardboard, or even a magazine that is lying around. You just need something sturdy that is an appropriate width to guide your folds.
Whatever you choose to use, lay it in the center of the shirt that you are folding.

Fold one sleeve straight across the back of the shirt. If you are doing this without a folding board, this fold should be about halfway between the neck and where the sleeve is adjoined to the body of the shirt.

Fold that same sleeve back over itself and down at an angle.

Repeat the process on the other side of the shirt.
Then, carefully remove the folding board from inside.
Fold the bottom half of the shirt up to meet the top. If you are storing your shirts in a drawer, fold the shirt in half again and store them vertically like files rather than stacked on top of one another. I've been doing this for close to 20 years and it makes finding your clothing in a drawer so much easier.


The process for folding any type of shirt is about the same, whether it is a t-shirt, button down, sweater, or even tank top. It is a task that anyone should know how to do so that their clothes can be properly cared for. This simple process allows you to add a special "boutique" touch to your clothing storage without costing yourself a cent.
Please know that some of the links in this post are affiliate links. This allows me to make a small commission if you purchase something, but your price will stay the same. I only will share products I believe in and all opinions are my own. You can view my disclosure policy here. Thank you so much for helping to support this blog!


of your friends and family each year.


This classic vintage Christmas image is free to download and can be used in so many ways including making holiday ornaments and gift tags.

Enhance the flavor of traditional apple cider by cooking it on the stove with all the flavors of fall and then enjoy a mug of the warm beverage as the temperatures cool down this autumn.


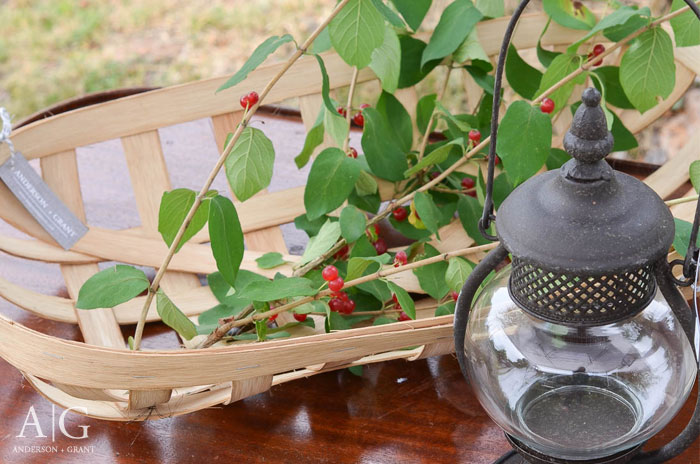
As the weather grows cooler, your front porch or patio can become the perfect place to enjoy the outdoors. Learn what you need to do to create a space as cozy as the indoors of your home.


Awhile back, I mentioned that I was going to be participating in a market to sell some of my handmade items. Then I had an idea to also hold a sale at my house the weekend before because I was not allowed to sell anything that wasn't handmade at the original market. I had all these farmhouse style pieces I had picked up in addition to all my vintage finds that I wanted to sell, so this seemed like the perfect plan. (I say that because I've since learned Fourth of July weekend in my town is not the time to do something like this. And don't even get me started about how you end up with no customers because two neighbors decide to have yard sales the same time and people don't follow the fancy black signs that you've created to their destination and end up at the yard sales instead of your own sale. I've accepted the setbacks and moved on!)


A simple solution for storing dirty towels, dish cloths, and rags in the kitchen until wash day.


Last week, I was taking a look at many of the pins that I've been saving on Pinterest and saw a few patterns. One of them was the use of antlers in decorating. While I can't say that I actually would use this trend in my own space, they seem to be popping up in the styled rooms that I like. And I think the look may be growing on me.
On one hand, the thought of decorating with antlers reminds me of being in a man cave filled with someone's hunting trophies. Buck heads on the wall.....stuffed turkeys sitting on the floor....and dark wood paneled walls. Not my type of decor.

Hot chocolate is a must have beverage in the cold winter months. Learn how to make your own basic homemade mix to add to warm milk and also how to give it a peanut butter twist.
