Learn how to achieve a rustic, layered paint finish on just about anything, new or old.

CREATE | Published April 4, 2016

What normally draws me to old painted pieces is the chipping paint and patina developed over years of use. Some people may look and see something that needs a fresh coat of paint or good cleaning. But the ugly that is seen is beautiful in my eyes. It shows that the item was used, not stored away for safe keeping and special occasions. It had a purpose and was quite possibly loved, if for no other reason than that.

Broken down and rusty can normally be picked up at thrift stores and flea markets for little or nothing, but to find real aged beauty comes at a price. This is especially true now when so many more of us are searching for it. No longer are we finding it necessary to rush to a department store for furniture and accessories that are new, clean, and fresh. While those items are nice, a home that has a mixture of new and old looks like you've been collecting and designing for years. Those worn items add character and are unique and personal to your space.
Considering the cost and that you may not be able to find the exact worn piece that you're looking for, there are times when you have to create your own age. It is easier to do than you may believe. The secret is layer upon layer of paint, along with layers of wax.....and of course a little sanding.


I was really lucky to find this charming wood tool box at Goodwill for just a couple of dollars. What really drew me to it was that it was obviously homemade, being built of different types of wood......whatever scraps were lying around, I suppose. The one vertical piece even had an old label for something still attached. The large nails holding the box together were not equally spaced as a "perfect" made-in-a-factory version would be. And there were cracks in the boards and dings in the wood. All those imperfections tell a story.

The wood was nice, but not really aged much. And I wanted a look that showed this toolbox was used by a carpenter faithfully through the years. A new coat of paint being added whenever the old one had worn too much (which wasn't done for beauty but rather to protect the wood). Dings and scratches to the boards from the tools as they were tossed back inside at the end of the work day. A toolbox is an important utilitarian piece and will never look perfect if it is being used.
Before my paintbrush touched the wood, the toolbox need a few more of those dings and scratches. Use things like a hammer and a screwdriver or awl to make marks wherever your piece would naturally receive more wear than others.
If your wood is new, you'll need to give it a coat of stain before painting. Old wood would be darker and you want that to show through your distressing.

Use a beeswax stick (or a cheap votive or tea light will do) to rub over any areas that you want the stain to show through the paint. This acts as a resist and the paint will not stick to it. Throughout this process, add the wax to any areas that would naturally wear off like around the edges and over knots and cracks in the wood.
Then paint random spots in your base color. (I used Fusion Mineral Paint for this project, but you could also you chalk paint, milk paint, or acrylic paint if you prefer). There is no need to paint the entire piece, just the spots where you'll need some of the first color to show through.
Go over areas again with the beeswax where you want the first coat of paint to show and then paint your next layer. Do this as many times as you'd like for different layers of paint. You can use a hair dryer to speed up the drying time of your paint.
Then gently sand to remove the paint that is layered over the wax and distress your piece. If you want a more deeply distressed look use a coarser sandpaper.
When I sanded the first time, my paint peeled off in large sections as you can see in the third picture. This wasn't the look I was going for, especially with the stark contrast between the blue and white. I don't know whether it was too much wax, my paint wasn't completely dry, or a freak accident, but I was a little disappointed.

I sanded most of the paint off with a palm sander and did another layerof the white top coat and was much happier the second time around. Sometimes you can do everything right, but the look isn't what you were going for. There is nothing wrong with going back a few steps and starting again. The important part is that you're happy with the finished product.
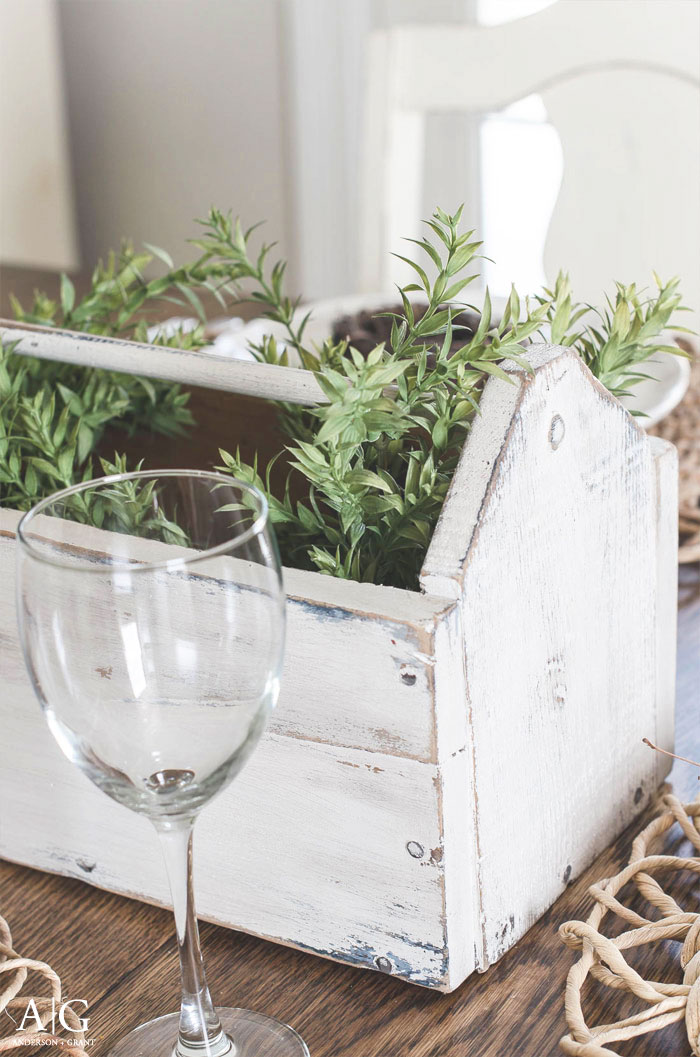
When the painting and distressing was done, I went over the entire piece with Miss Mustard Seed's antiquing wax to further age the wood. It really brought all the paint finishes together and kept the toolbox from looking like it was freshly painted.


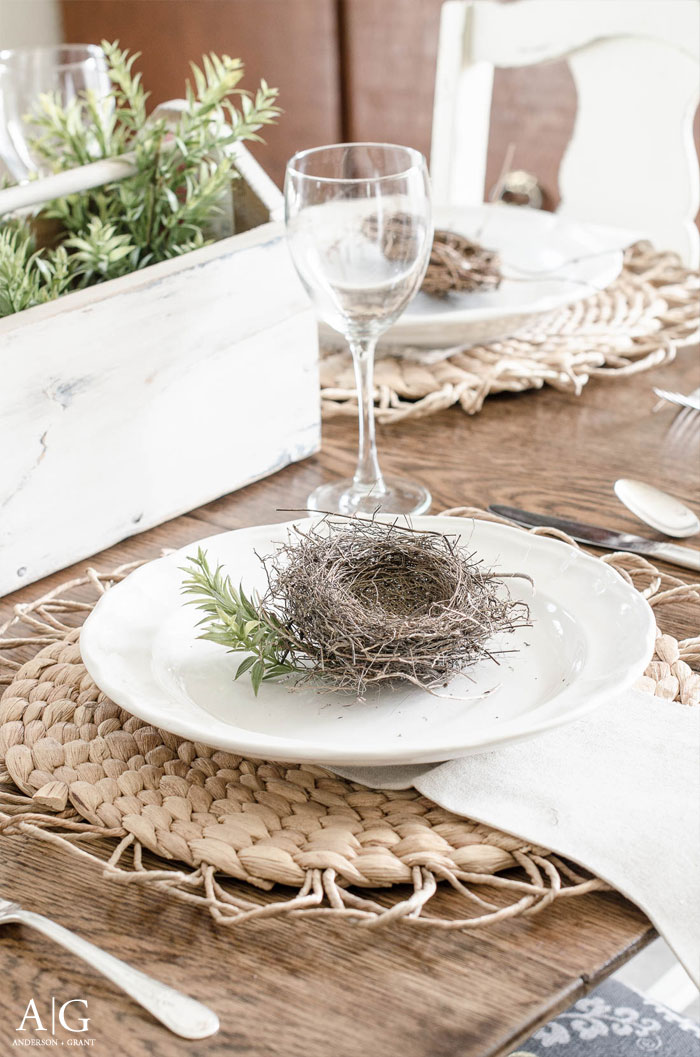
It is so nice to see that even though this toolbox isn't extremely old, it can still look aged and well worn with a little DIY. And it is the perfect size for a unique centerpiece in the middle of my dining room table. The handle makes it super easy to remove if more space is needed when it comes time for dinner. It can be filled with greenery as I've done here, or could even hold some plates and silverware to make setting the table a quick and easy job.
Do you have anything lying around that could be spruced up with this layered paint look?

This post may contain affiliate links. That means that if you purchase a product I've recommended, it won't cost you any more, but I may receive a small commission. I only will share products I believe in and all opinions are my own. You can view my disclosure policy here. Thank you so much for helping to support this blog!
