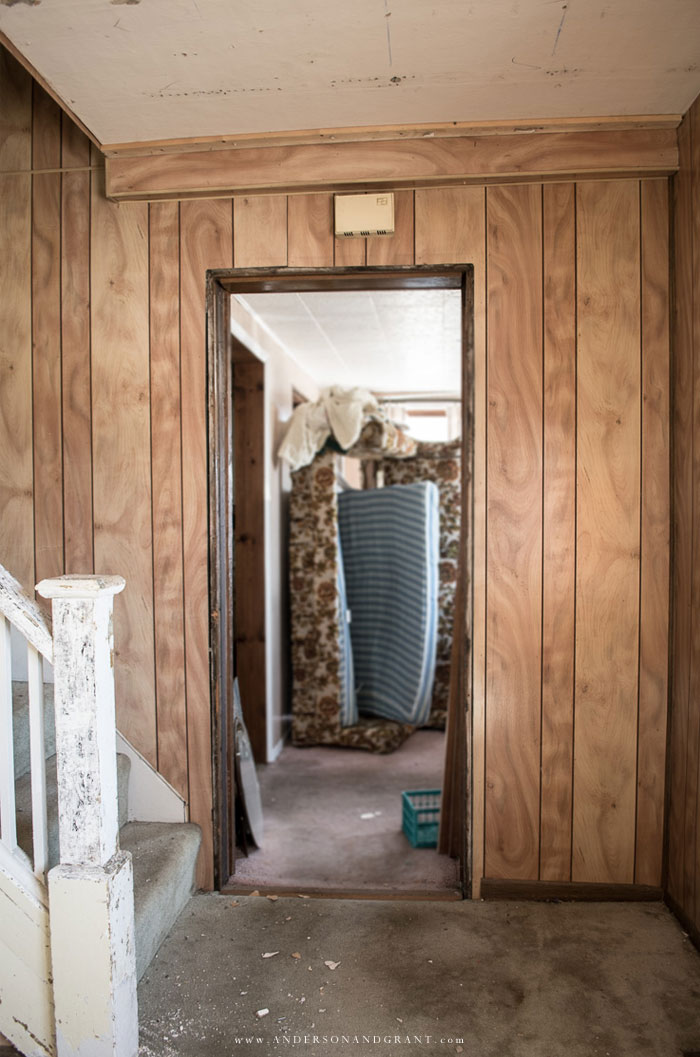
Work has been continuing at my 1900's fixer upper and I've started to expose some of the original character hidden in the living room.
MACTAVISH HOUSE | Published March 17, 2019

This post may contain affiliate links which means I receive a small commission if you choose to make a purchase using the link, but there is no additional cost to you. For more information, you can view my disclosure policy.
It has been about a month since I last caught you up to date on what is going on with my fixer upper house. (You can see the full before tour here.) I make time once, sometimes twice, a week to work on the house around my other job, blogging, and every day life. So needless to say, progress is going to be slow coming. And thanks to the dreary, snowy, cold winter months, I didn't have a lot of ambition to make any extra time for getting things done. But now that the spring weather has pretty much arrived and the light sticks around longer in the evenings, I'm a bit more motivated to get working.
In my last project house post, I shared the progress I was making in the dining room along with the design plans I had. That room had to be put on hold, however, until I can get the window replaced, which is happening sometime soon.....hopefully.
After realizing I needed to move on to another room, I spent some time tearing things apart in what will be the entryway, but honestly got a little overwhelmed in that space. I will share those pictures and what I found with you another day.
I then decided to start working in the living room because this is a space that I can actually finish. I'm hoping that will give me some motivation to struggle through the other rooms of the house! I don't do well when I feel like I'm not making progress.

My dad did this living room 35 or more years ago, studding out the walls, insulating, adding electrical outlets, paneling, and ceiling tiles. Because this is one of the rooms that is properly insulated at the moment, I'm not going to be ripping off the paneling and exposing the plaster walls as I did in the dining room. (In that room, the paneling was just applied over the plaster walls.) I will just be painting the paneling for now.
FOLLOW ALONG ON THE FULL TRANSFORMATION OF THIS LIVING ROOM
WORKING IN THE STAIRCASE AND ON THE CEILING
REFINISHING THE HARDWOOD FLOORS (scroll to the bottom of the post)
BUILDING A FAKE FIREPLACE
THE LIVING ROOM PRIOR TO ADDING FURNITURE AND DECOR

I took the ceiling tiles down, as well as the furring strips that were holding them up. There are three layers of wallpaper to remove and the nail holes need repaired, but the ceiling seems to be in relatively good condition, at least in the sections where I've removed enough of the wallpaper to get a peek. The exposed layer had been painted, and that seems to be making it pretty easy to get the wallpaper off. That's going to be my focus this week.

I also started working on stripping the wood railing on the steps. There are at least seven different coats of paint and it has turned into quite a job. My friend Nicole from The Inspired Hive just told me about a paint remover called MultiStrip that she used on an old door that removes up to 15 layers of paint at a time, so I'm going to pick up some of that at Home Depot this weekend and give that a try instead. I'll also be removing the carpet and stripping the stairs.

Speaking of the carpet, I was crossing my fingers that the wood floors underneath were as nice as the ones in the dining room and they seem to be. I've pulled back about half the room to find that they have been painted around the outside just as the other room, but that the middle remains paint and stain free. I want to wait to rip up the carpet here and on the steps until after the windows are installed, so that nothing happens to them.

There is one board that I may have to replace. It looks like there might have been an old furnace vent here at one time. I found the same thing in the dining room on the wall that it shares with the entry.

And before I close for today, I thought I'd reach out for your opinion. The original wood beam on the outside wall is not visible in this room since it has been studded out for insulation. But, there is a small beam going into what used to be the sun porch. That's what you can see jutting out from the rest of the wall in the picture above. Do I expose this beam as I did in the dining room or leave it covered with paneling and paint it? (And yes, that is the living room sofa bed you saw in the before tour standing in the air in the other room.)
I hope to be able to share my design plans with you for this space soon. I've chosen a neutral sofa, but haven't ordered it yet. But I'm having a really hard trying to decide on an area rug. I love a blue rug from Joanna Gaines's line and it would coordinate with nicely with the one I showed you I'd like for the dining room, but I'm very hesitant to invest that much money in a rug. I'm worried that I might not be loving the blue in a year and then I'm stuck. Shopping for this house has made me very indecisive!
SOME MORE POSTS YOU MIGHT ENJOY
MY 1900s FIXER UPPER - The Before Tour