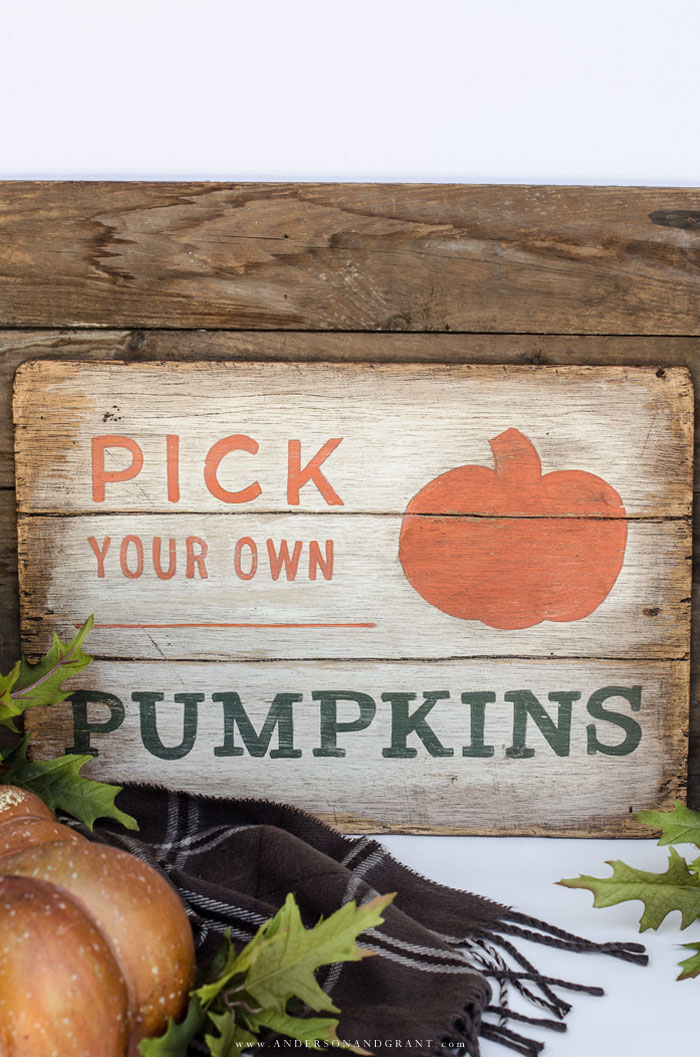
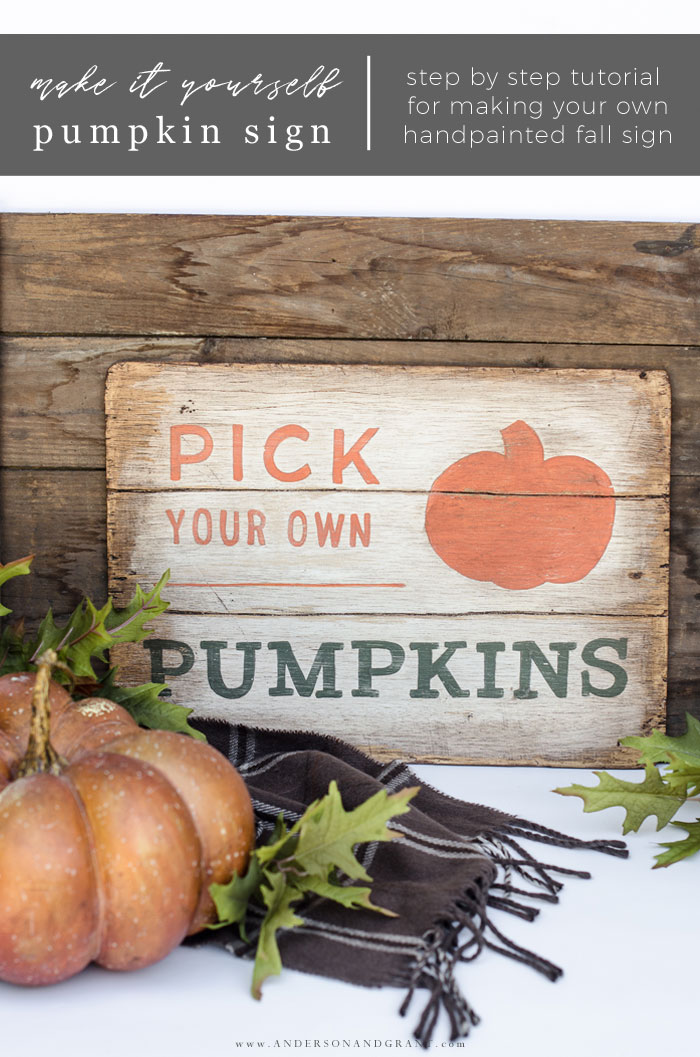
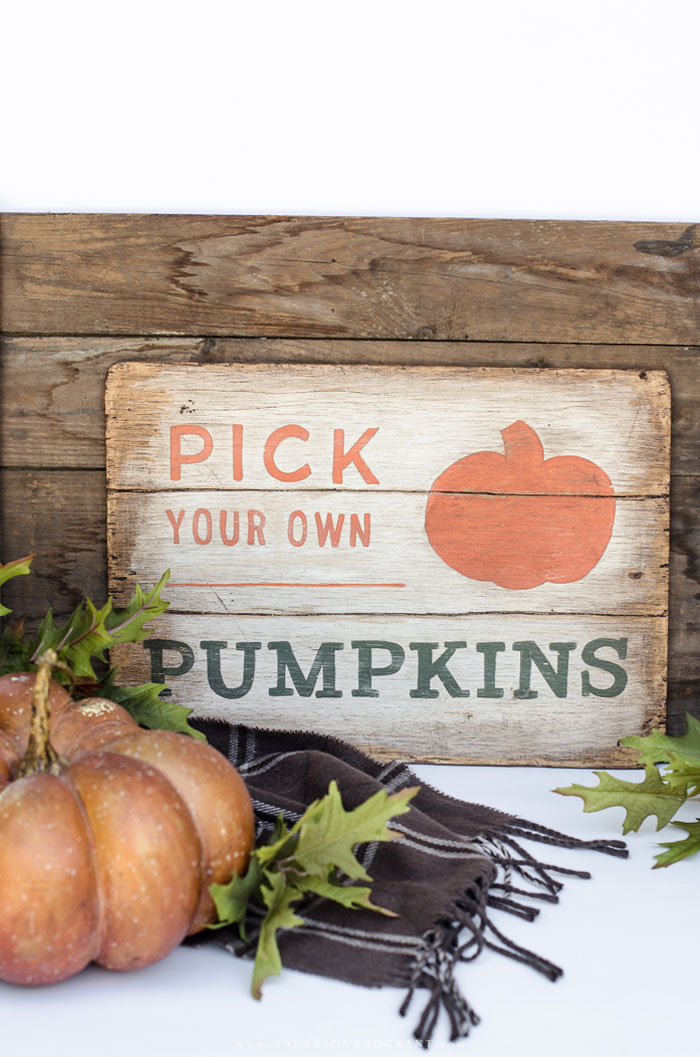
If you are looking to decorate your home with new autumn decor, you may want to consider picking up a paintbrush and making something yourself. This simple hand painted DIY fall sign is something anyone can make and takes almost no time at all!
FALL | Updated September 17, 2023

There is something very satisfying about making things yourself.
Sure, there are plenty of pretty things out there to buy and I love shopping just as much as the next person. But to be able to construct something with your own two hands that you can pull out and enjoy each year is special.
That is how you get the unique, one-of-a-kind decor that gives your home character and keeps it from looking like everyone else's home. We've become accustomed to wanting what everyone else has, but really, having something different should be celebrated.

This post contains affiliate links which means I receive a small commission if you choose to make a purchase using the link, but there is no additional cost to you. For more information, you can view my disclosure policy.
Supplies You'll Need
At Goodwill, I found a thin flat board that i knew would make a perfect small sign. You should be able to find something similar at a craft store or hardware store. Any old scrap of wood that you have lying around would also work.
My board was about 9 inches x 14 inches, but you can enlarge or decrease the size of the template below to fit whatever size sign you'd like to make. The thickness does not matter.
In addition to the wood board, you'll also need:
- template for sign
- paint - In your favorite orange, green and cream shades. I used Fusion Mineral Paint in Raw Silk, Tuscan Orange, and Bayberr
- paintbrushes
- distressing tools - (optional) Anything you can use to age your board. I used a hammer and some screwdrivers. If you are using old wood or aren't into the distressed look, this step is unnecesary.
- sandpaper
- dark aging paste wax - to really give your sign the patina and staining of an old sign
- wax brush - a clean rag will do if you don't have the brush

How to Make a Distressed DIY Fall Sign
1. DISTRESS YOUR BOARD
I used a hammer and some screwdrivers to add age and character to the new, perfect board. Focusing heavily on the edges, I chipped away sections and added indentions. All of this is enhanced later on when you are finishing the sign.
Also, because the board was soft, I was able to use the screwdriver to create two lines across the board to make it resemble that of individual planks. This step is optional, but I really love how it made my sign look less like it was made out of an ordinary single piece of wood.
2. PAINT
You'll need two light coats of a creamy white paint over the surface of your board. (I chose Raw Silk made by Fusion Mineral Paint.) When making a sign like this that I want distressed around the edges I tend to not paint right to the end of the board. There is no point in perfectly painting something you are going to sand away later.
3. SAND
When your paint is dry, lightly sand the surface to distress the paint and begin making it look worn. I prefer to use a pretty heavy grit sandpaper to really rough up the paint. I love making it look like the sign would have been made out of an old used board that has been weathered for years and sanding helps that to happen.
4. PAINT THE WORDS
Download the DIY Sign Template and use carbon paper to trace the outline onto your painted board. You may need to adjust the size of the template based on how big your sign will be.
Then paint the words and pumpkin shape using orange and green. (I chose Tuscan Orange and Bayberry again by Fusion Mineral Paint.)
5. SAND AGAIN
Gently distress the sign after the paint has dried. This sanding should fix any imperfections you may have had when painting the words and pumpkin on your board and smooth everything out.
6. AGE THE SIGN
The final step to making this old and rustic sign is to age it using dark ageing paste wax. A large wax brush works really well at getting in all the spots you aged in the first step, but if you don't have one and rubbing the wax in with an old rag will work just fine.
I use quite a bit of wax in this step making sure that it gets down into the distressed areas where it will stay. If it appears like the sign is getting too dark, the dark wax can be lightened by rubbing in some clear wax.
I focus more heavily on darkening the outer edges of the sign and stay lighter toward the middle. You may need to play around a bit with it until you are happy with the finish.
And that is it! I know it seems like quite a few steps, but nothing is really complicated or takes much time at all. Most of your time will be spent just waiting for the paint to dry. (And a hairdryer works wonders to speed up the process, by the way!)

While I'm typically a perfectionist when it comes to making something, I embrace the imperfections when creating a hand painted sign. Actually, the more handmade it looks, the better in my eyes. And for this DIY Fall Sign, I worked extra hard at making it look old, beat-up, and imperfect.
I hope this post has inspired you to consider taking a break from shopping for something new this year and instead try making your own fall sign for the season.
Some More DIY Projects for Fall You Might Enjoy
- Pumpkin Planter Box
- Dried Oak Leaf Wreath - A perfect accent for your front door!
- Chalk Painted Heirloom Style Pumpkins
- Hand painted Pumpkin Crate - this would make a really cute fall sign as well!
FALL IDEAS TOUR
Need inspiration for decorating your home this fall? Or maybe whipping up a delicious fall inspired treat? Be sure to visit some of these bloggers below for more great ideas you can use in your own space!
Monday - Fall Mantel Decor Ideas

Postcards from the Ridge | Worthing Court | 2 Bees in a Pod | Virginia Sweet Pea | Domestically Speaking
Tuesday - Fall Tablescape Ideas

DIY Beautify | Hunt & Host | Chatfield Court | Far Above Rubies | I Should be Mopping the Floor
Wednesday - Fall DIY Projects

Daily Dose of Style | Atta Girl Says | Hearth & Vine | Stone Gable | anderson + grant
Thursday - Fall Recipes

Petticoat Junktion | Mom 4 Real | Nourish & Nestle | Foodie Chicks Rule | The How to Home
Friday - Fall Porch Decor Ideas

Saw Nail & Paint | Dukes & Duchesses | Sand Dollar Lane | Cottage at the Crossroads | Vin'Yet Etc


