
FALL | Updated October 1, 2023

Fall has arrived and that always brings on the urge to bake and do crafts.
Today's post combines those two activities. In a partnership with Home Depot, I've been asked to create a rustic pumpkin stand along with 23 other bloggers. We each have the same project, but are asked to style it in our own way for a given room of the house.
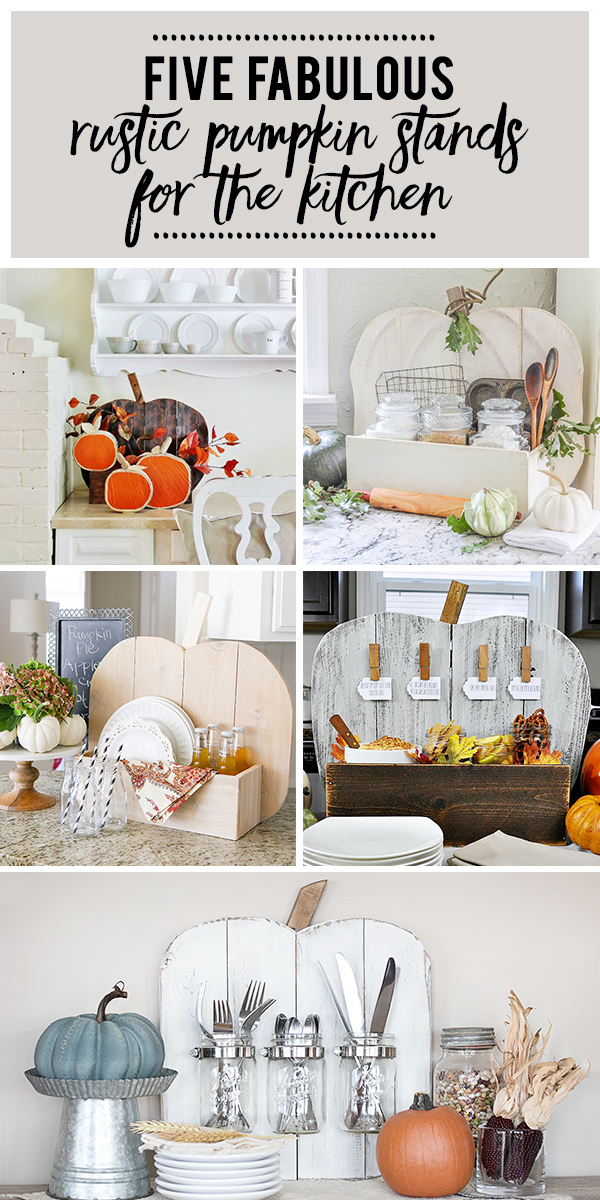
The links to everyone's creative take on the pumpkin appear at the end of the post. The five of us in my group headed up by Kelly of Live Laugh Rowe have the kitchen as our room to use the Rustic Pumpkin Stand.

This post contains affiliate links which means I receive a small commission if you choose to make a purchase using the link, but there is no additional cost to you. For more information, you can view my disclosure policy.
Going into the fall season, I always want to bake more. Cookies.....pies.....cakes. There are so many delicious flavors we associate with the autumn like apples, pumpkin , and cinnamon that baking just seems like a natural thing to do.
It is nice to have your most needed supplies close at hand for when the baking urge strikes. This rustic pumpkin stand is prefect for creating a little seasonal baking station in your kitchen
The box on the front of the planter box is the perfect place to store some glass canisters filled with baking must-haves like flour, sugar, and brown sugar. It is also wide enough to tuck in some cooling racks, muffin tins, and wooden spoons.
The planter can also be beautifully styled outdoors on a porch filled with mums and small pumpkins. The actually ways that you can use this box are only inhibited by your creativity! Be sure to take a look at the end of the post for all the ways that have been thought of for using it.


What You'll Need
Want to try making this Pumpkin Planter Box? Here's the supplies you'll need:
- cedar fence fence pickets - You'll need two that are 6' long x 5 1/2" wide and a a square edge is preferred
- 1"x2"x4' board - this goes on the back and makes the stem, so you can use scrap lumber if you have it.
- staples and staple gun - you'll need both 1" and 2" staples
- exterior wood glue
- measuring tape
- miter saw or circular saw - For cutting your boards to length; a hand saw will work if you don't have any power tools, but be sure that you cut the boards for the front box straight and accurate.
- jig saw - to cut the pumpkin shape out of the boards
- pencil
- clamps
READ NEXT: 8 Easy Fall DIY Projects to Add Style to Your Home This Season
How to Make
When I originally learned what our project was going to be, I got a little nervous. Power tools and building can be a little scary if you aren't used to it. But this is really the easiest project ever. And quite budget friendly using only a few boards.
CEDAR FENCE PICKET CUT LIST
- 4 - 18" long pieces - the length can be flexible to accommodate all four cuts from a single picket; these boards will be used to form your pumpkin
- 1 - 17" long piece - for the front of your planter box
- 2 - 5 1/2" long pieces - for the sides of the planter box
- 1 - 16" long piece - for the bottom of the planter box
1"x2" CUT LIST
- 2 - 20" long pieces - these are used on the back to hold the pumpkin together
- 1 - 8" long piece - to use for the stem, so the length can be flexible if you are using scrap wood

STEP 1: Cut all of your boards according to the cut list. It is easiest to cut with a miter saw, but a circular saw or hand saw can be used as well.
STEP 2: Lay the four 18" fence pickets onto a flat work surface so that the overall width measures 23 inches across. Place the two 20" 1x2s on top leaving a gap of about 1 1/2" on both sides. (You can use the stem as a guide as it is 1 1/2" in width!) Apply wood glue and then attach boards using two 1" staples per fence picket board to secure everything together. Flip the project over and add an addition two staples per board to secure them from the front, making sure to not staple within 1" of the edges as there is no 1x2 behind it.
STEP 3: Starting 3" out at the bottom edges, draw a pumpkin shape on the front of the cedar boards with a pencil. Avoid drawing so that the 1x2 supports will be crossed. Keep the shape organic and freeform. Pumpkins are generally bottom heavy, so consider a smaller rounding at the bottom and larger rounding on top.
STEP 4: Position the project so area to be cut out overhanging the work surface to allow your jig saw blade to cut freely. Secure the project to your work surface using two clamps. Test to make sure the project is secure. Cut out the pumpkin shape using your jig saw, removing the clamps and repositioning when necessary to cut out the full pumpkin shape.

STEP 5: Place the stem in the center of the pumpkin and attach with glue and 2" staples.
STEP 6: Use glue and 1" staples to attach the front of the box to the sides. Apply glue along three edges of the bottom of the box. Place the bottom inside the front and sides. Staple in place along the front and side edges with 1" staples.
STEP 7: Place the box open side up on your work surface. Apply glue along the top edges. Place the pumpkin on top, aligning the bottom edge, and the start of the pumpkin shaped cut with the outside corners of the box. Use 1" staples to secure the bottom of the pumpkin to the bottom of the box. Use a straight edge to guide you when stapling the pumpkin to the sides of the box.


Finishing Your Pumpkin.
You can finish your pumpkin stand however you'd like. Think about your style preferences and how you'd like to use the planter in your home or outdoors. Have a look at the other options below for a few ideas.
To make the rustic pumpkin stand a little more me, I painted the entire piece with a creamy white craft paint, then added decorative shading with burnt umber to make the pumpkin look like it had natural ridges.
The stem was also painted in burnt umber. Then I gave the entire piece a little distressing around the edges of the boards.
Then I added a "vine" to the top with some paper covered wire. It had been teh base of a berry garland that I used on a project a few weeks ago.
A sprig of dried green leaves were tucked into the vine.

There are so many ways to use this Rustic Pumpkin Stand.
Imagine it filled with plants, candy, magazines, or other home-related items. The best part of the project is that it really is something that anyone can handle making and can be customized to fit with your needs and style.
Some Other DIY Projects You Might Enjoy Making This Fall
HOW TO MAKE WREATH USING PRESERVED LEAVES
PICK YOUR OWN PUMPKINS HAND PAINTED SIGN TUTORIAL - Includes the free template so you can paint your own.
DIY CHALK PAINT PUMPKINS - How to make them look like the heirloom variety
HOW TO MAKE A DECORATIVE TREE WITH DRIED LEAVES
DIY REALISTIC PUMPKIN STEMS - Made from cinnamon, twine and Mod Podge!

As I said in the beginning of this post, all of us participating in the Virtual Workshop Party can up with unique ideas for using the Rustic Pumpkin Stand in different rooms of your home. Here are the links to everyone's posts. You'll be amazed by the creativity of these ladies!
KITCHEN
Thistlewood Farms
anderson + grant (You are here!)
Ella Claire
Little Glass Jar
Live Laugh Rowe
OUTDOORS
Domestically Speaking
Redhead Can Decorate
My Uncommon Slice of Suburbia
Setting for Four
Little Red Brick House
GUEST ROOM
All Things Thrifty
Over the Big Moon
Pretty Providence
Lou Lou Girls
LIVING ROOM
DIY on the Cheap
The Frugal Homemaker
Dogs Don't Eat Pizza
Just a Girl and Her Blog
Maison de Pax
DINING ROOM
The Yellow Cape Cod
33 Shades of Green
Southern Revivals
Meadow Lake Road
Inspiring Hearts & Homes
I acknowledge that The Home Depot is partnering with me to participate in this Workshops Program (the "Program"). As a part of the Program, I am receiving compensation in the form of products and services, for the purpose of promoting The Home Depot. All expressed opinions and experiences are my own words. My post complies with the Word Of Mouth Marketing Association (WOMMA) Ethics Code and applicable Federal Trade Commission guidelines.