
Learn the four different techniques I've used to dry the fallen leaves I've collected for fall decorating and craft projects.
FALL | Updated May 1, 2023
FALL | Updated May 1, 2023
Dried and preserved fall leaves are a beautiful addition to your fall decor.
Of all the seasons, fall is the easiest to decorate purely with nature....no trips to the store necessary. Unless you live downtown in a city, there is likely free, sustainable decorations closeby, whether it is cutting a few leafy branches, picking pumpkins at a local farm, or simply gathering some remaining flowers or even "weeds" for an autumn floral arrangement.
I use a lot of dry and preserved oak leaves in my decorating. Every bare spot seems to look more complete with the addition of just a few branches tucked in. I hadn't really thought much about the process of drying leaves and figured there was nothing to share, but I've received so many questions and comments about the idea that I thought a post was necessary.
This is by no means a complete or technical tutorial on preserving leaves, but is merely what has worked for me based on my own experiences.
There are oak trees along one side of the road where I like to take walks in my neighborhood. At the beginning of September, branches filled with green leaves begin dropping down onto the road and continue throughout the month. The color of the leaves depends on the time in the season and how long they've laid on the ground.
Later in the fall, individual leaves in various shades come tumbling down, but I always love scooping up those vibrant green branches early in the season to get a head start on my decorating. We typically think of fall being filled with bright autumnal colors, but the green shades of the oaks are a nice change of pace if you prefer neutral decorating.
How to Preserve Fall Oak Leaf Branches
There are four methods for preserving leaves that I've used successfully year after year. Their color and appearance depend on the types of oak, the method used for drying them, and the time of year that they are gathered.

This post contains affiliate links which means I receive a small commission if you choose to make a purchase using the link, but there is no additional cost to you. For more information, you can view my disclosure policy.
HANG WITH TWINE
After gathering a bunch of branches, I tied up small bundles with twine and hung them for about a week to dry.
A year later, and the leaves are still just as beautiful as they were last fall in a muted shade of green. (These were the ones I used on my preserved leaf tree and tucked into my fall mantel.)
The part that I didn't like about hanging the branches was that some of the leaves tend to turn as they dry, so when you go to use them in a display sometimes your branch has a section of leaves that are displaying the backside. This isn't a problem if you are going to use the leaves individually, though.

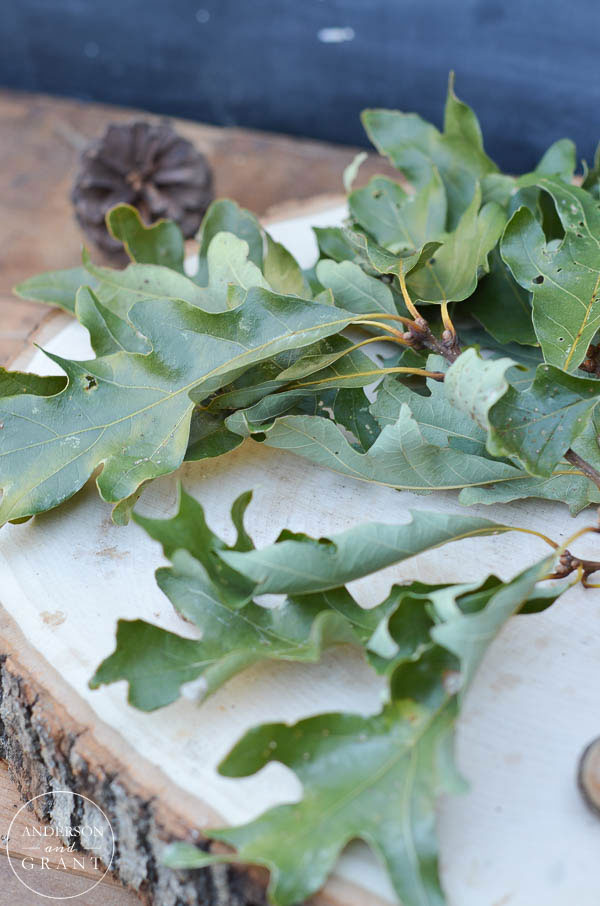
LAY BRANCHES FLAT
This year I collected some freshly fallen branches with vibrant green leaves. Because I was going away for the weekend and wasn't interested in tying them up, I decided to experiment to see if I could fix the problem of the turning leaves.
I laid the branches out flat on my dining table to dry. When I came home after a few days, the leaves were dried to the touch and still the same pretty green color. And for the most part, the leaves did not turn around on the branches.
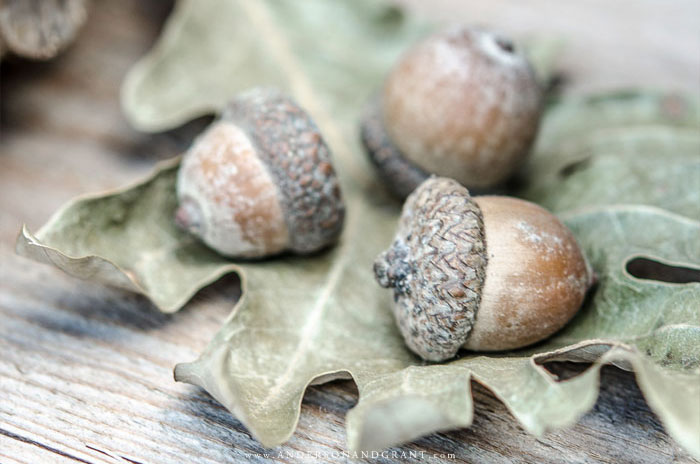
If you are looking to have "fresh" leaves to display in a vase or piece of pottery or would like a few sprigs to tuck in around some pumpkins, this method will give you the most natural looking preserved branch. I have actually even preserved them with acorns still attached, which is a nice accent.
Both of these methods will allow for your leaves to curl naturally around the edges, which I find very pretty to see.
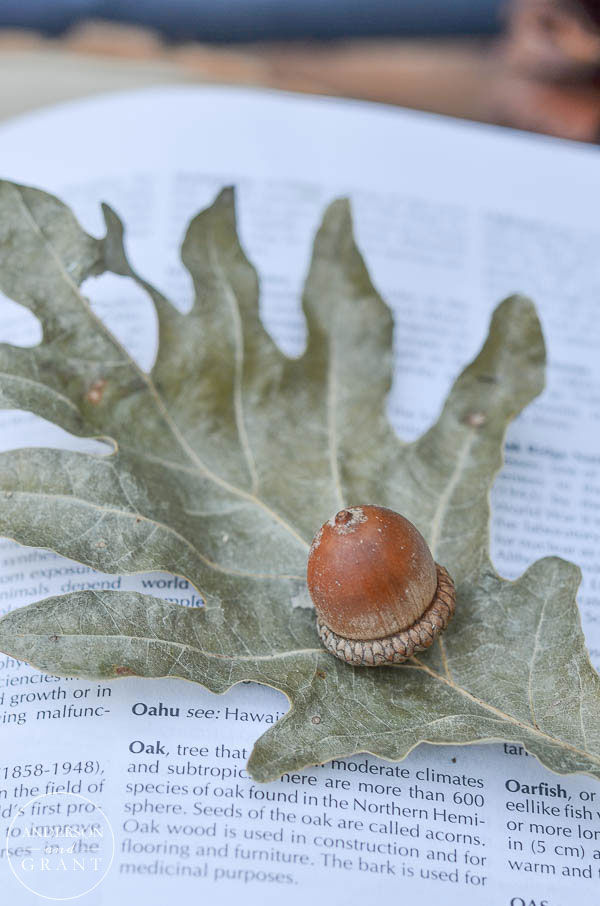
FLATTEN LEAVES IN A BOOKs
Another way to preserve leaves from year to year is to press them inside of a heavy book (like an encyclopedia) or a stack of books if you don't have a single thick option. This is the same method used to press flowers.
Lay your leaves between two sheets of paper towel to absorb any moisture and place that between a top and bottom layer of waxed paper to protect your book. This method will eliminate the curling around the edges and give you a completely flat leaf.
You may be able to do this with a very thin branch of leaves, but normally you'll have to remove the leaves from the branch for this technique in order for the book to close over the leaves.
This method will give you pretty individual leaves to spread around your decor or use as place cards on your dining room table. Place the pressed leaves inside of a frame for seasonal wall decor.
DRY ON THE TREE
The easiest method of drying and preserving leaves is to let it happen naturally on the tree. I don't know if all oak trees do this, but the ones in my neighborhood will sometimes have branches of leaves that change colors and dry out but don't fall off. Many of the leaves remain even through the winter.
I had to jump to reach this pretty bunch, but I wanted to show you how pretty they can become all on their own. This would be a pretty color palette for my decor next year, don't you think?

Storing Your Dried and Preserved Oak Leaves
Once your leaves are dry they should last for quite awhile if cared for properly.
I like to reserve a flat tote box just for the branches so that they don't get crushed by other decor. Individual leaves can be stacked one on top of another and set inside of a similarly sized box. Be sure to label the boxes so that you know not to jostle or drop them and risk shattering the dried leaves.
It is probably a good idea if you are going to use these leaves from year to year to spritz them with water occasionally. It will help maintain their color and keeps the leaves from becoming too brittle.

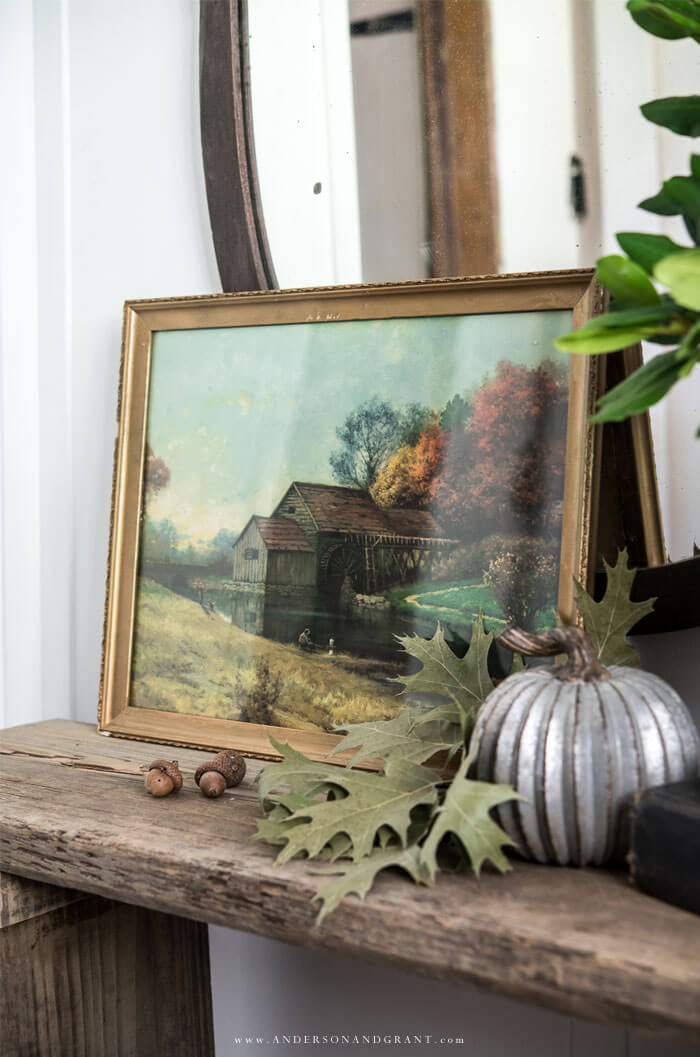
Decorating with Preserved Leaves in the Fall
Once they are dried, leaves can then be displayed in different ways throughout your house for the season.
- Display a tall vase overflowing with the branches or add a single stem to a demijohn.
- Scatter individual leaves across the top of your buffet.
- Fill a rustic wood dough bowl with individual leaves for added texture and color on your coffee table.
- Tuck individual small sprigs of branches around decor, pumpkins, and books on your bookshelves or in any seasonal vignette.
- Allow a single eye catching branch to stand by itself as a piece of art displayed on the mantel.
READ NEXT: Using the Preserved Branches to Create an Eye Catching Fall Wreath
Where to Buy Preserved Leaves
If you live in an area where it isn't possible to gather leaves to dry or you aren't interested in doing it yourself, there are places where you can buy them already preserved.
- Amazon: Just be sure that you are looking at preserved or dried leaves and not just artificial (silk) leaves because when doing a search they tend to get mixed together. A few of many favorites are the Golden Toned Oaks, the Orange and Red Oaks, or the Dried Cooper Beech.
- Etsy: RusticHouse11, Dried Decor, and Florist Craft have great options
- Pottery Barn
- Terrain
- AFloral
Using dried and preserved leaves in the fall is a natural and sustainable way to decorate for the season. Not only does it look pretty, but it is very budget friendly and you don't have to store the decor from year to year (unless you want to).
