
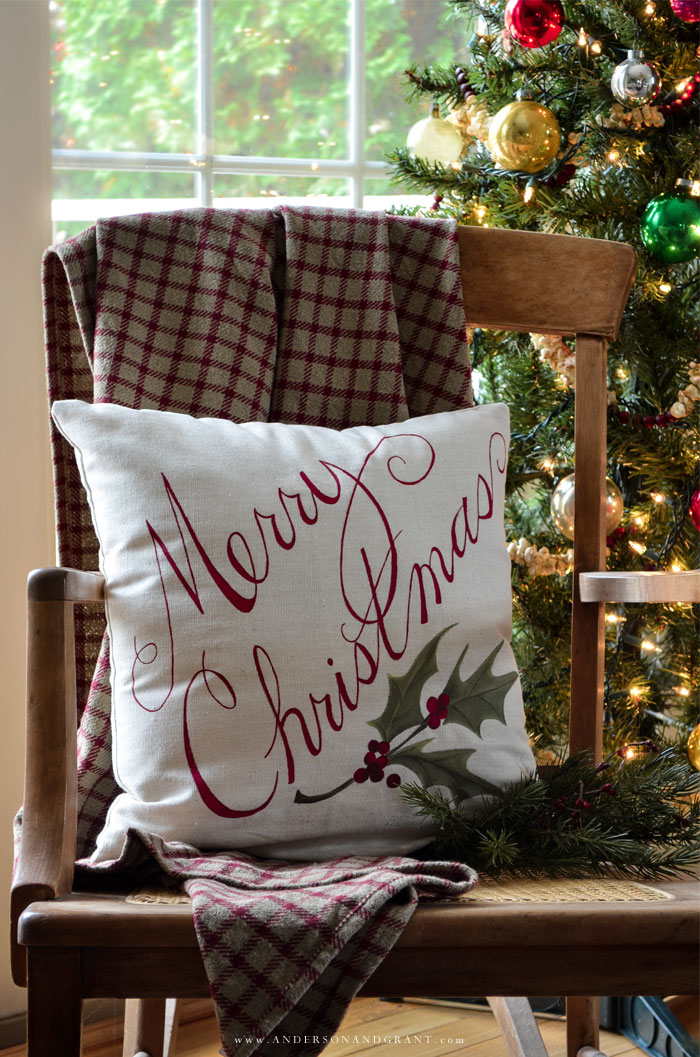
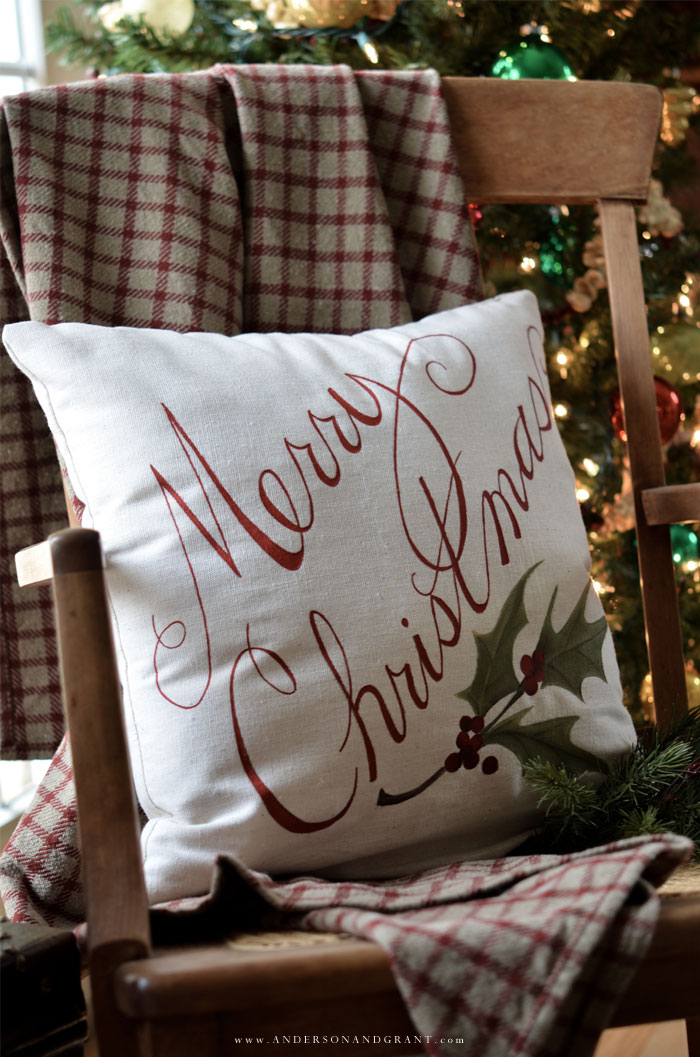
Follow this easy tutorial for hand painting a decorative Merry Christmas pillow for your Christmas home.
CHRISTMAS | Updated Novenber 12, 2023

One simple way to completely freshen up the look of your room for the season is to change the throw pillows.
They are the final touch to any room, whether tossed on your living room couch, rest on a bench in the entryway, or placed on your bed.
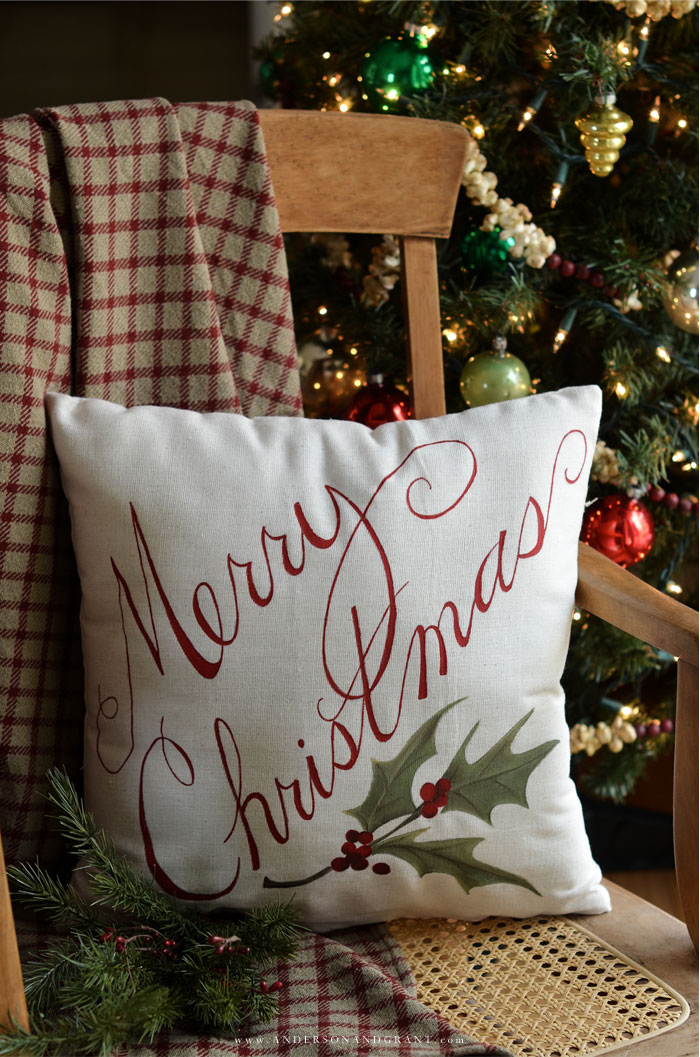
While you can focus on pillows in seasonal shades, patterns and textures, I wanted to share how I made a hand painted Christmas pillow that is a festive addition to the others that you may have. It is designed on a neutral fabric so it can be placed into almost any space for the holiday.
So, let's get crafting and learn how to hand paint a Christmas pillow with holly.
This post contains affiliate links which means I receive a small commission if you choose to make a purchase using the link, but there is no additional cost to you. For more information, you can view my disclosure policy.
What You'll Need
Want to try making this hand painted Christmas pillow? Here's the supplies you'll need:
- fabric - You'll need something neutral that is heavy-duty enough for a sturdy pillow. I used osnaburg from the fabric store, but you could also use linen or a home décor fabric.
- measuring tape
- scissors
- square pillow form - Choose whatever size you'd like as the pattern can be made bigger or smaller so it works for you.
- craft paint - I prefer Americana brand paint, although any acrylic paint from the craft store will do. For this project, I used: Tuscan Red for writing Merry Christmas and the holly berries; Light Avocado Green, Avocado Green, Celery Green, and Camel for the holly leaves; and Burnt Umber to shade the holly berries and leaves.
- craft paint brushes
- waxed paper
- Merry Christmas with Holly Pillow Pattern Template - Click link to download
- carbon paper
- sewing machine
- needle and thread
How to Make a Merry Christmas Pillow with Holly
STEP 1: Cut the fabric into two squares that are an inch wider in both directions than the pillow form you are using. My pillow was 16 inches square, so I cut out two pieces of fabric 17 inches square.

STEP 2: Trace the pattern onto one square of fabric using carbon paper underneath the template. This will give you an black outline to follow as you paint.
STEP 3: Layer waxed paper underneath the fabric square you will be painting to protect the surface underneath the fabric from any paint residue.
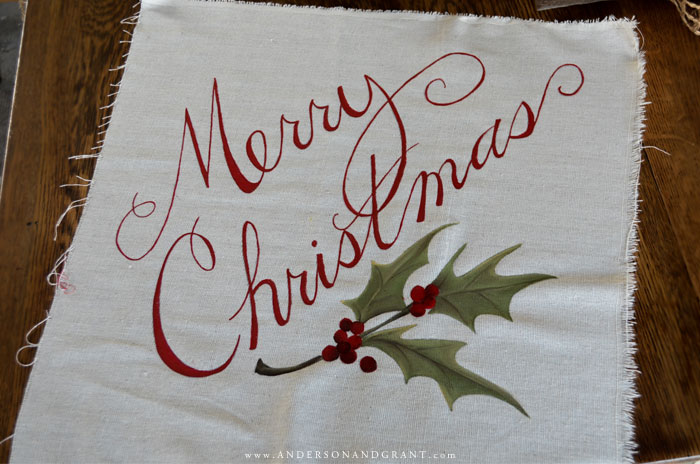
STEP 4: Next you will begin painting the design onto the fabric with craft paint.
The number of paints I listed may lead you to believe that painting these leaves will be hard, but exactly the opposite is true. I don’t enjoy doing shading or highlighting when I paint, so all the paint goes on at one time.
You really can’t mess up the painting (as long as you basically stay inside your traced lines!)
- The Merry Christmas script is painted with Tuscan Red. If your paint seems too thick to paint the words, you can thin it out with just a little bit of water mixed in.
- Start painting your leaves with Light Avocado Green. Then layer the other colors on top of it, slightly blending everything with your brush until it looks like you want. I use the Medium Avocado toward the middle and bottom of the leaves and the Celery Green around the outside. I focus the Burnt Umber on the areas where the veins of the holly leaves would be. The Camel goes near the outside where you want to highlight the leaves.
- When the leaves are dry, finish your painted pillow by painting your holly berries first with the Tuscan Red, then shading with Burnt Umber to add definition to each individual berry. Again, you can do all this without waiting for the basecoat to dry.

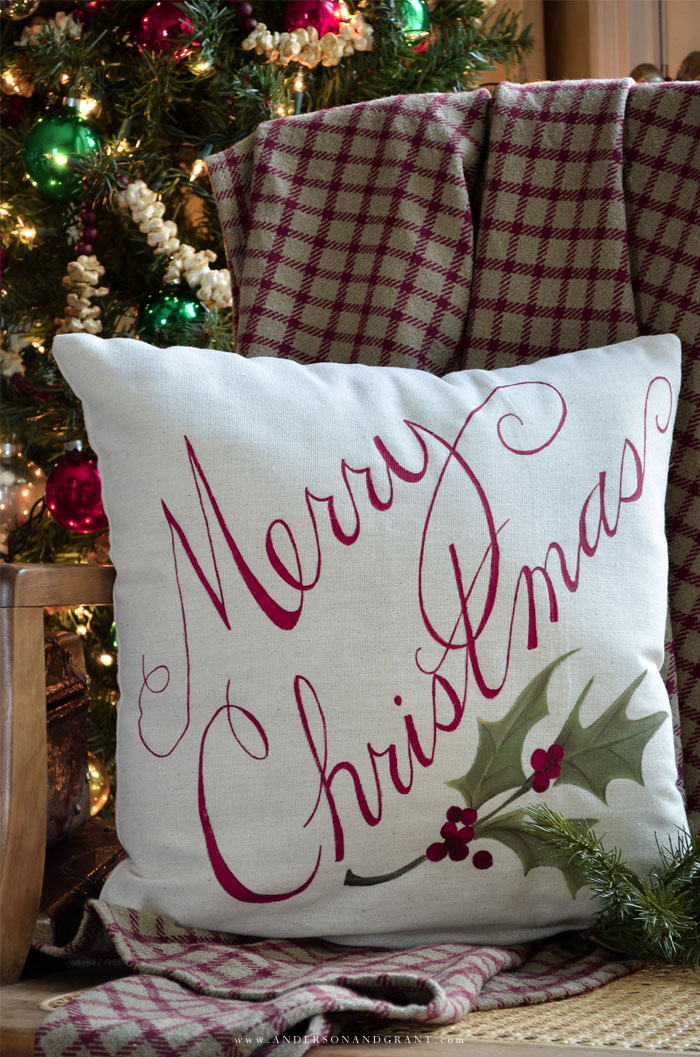
STEP 5: When the paint is completely dry, sew your two squares of fabric with the right sides together with a 1/2 inch seam allowance. Leave a space unsewn at the bottom to insert your pillow form.
Then turn the pillowcase right side out, insert your pillow form, and close up the opening with a needle and thread.
You can also make this pillow with a zipper if you have the ability and would like to be able to remove the cover for seasonal storage.
Project Variations
- To enlarge the picture or make it smaller, it can be opened into a Word document, and drag on the corners of the image to make it as big or small as you'd like. You may need to print it out on more than one piece of paper depending on the size you desire.
- I have no real sewing abilities, but I can handle stitching straight up the four sides. But if you don't have a sewing machine or would like to avoid the sewing process, you could always purchase a pre-made pillow in a neutral color and paint the design right onto it.
- If pillows aren't something you like to decorate with, but you enjoy painting, this idea could be painted on just about anything for the holiday like a square wood sign.
I hope this handcrafted pillow adds just the right amount of Christmas spirit to your sofa or bed this holiday season!
More Christmas DIY Posts You Might Enjoy
ANTIQUE INSPIRED GOLD BEAD GARLAND - Craft the look of a pricey McGee and Co garland
PAPER MACHE DEER HEAD
BLACK + WHITE DISTRESSED CHRISTMAS SIGN
NO-SEW TABLE RUNNER - Create it using burlap or any heavily woven textile.
BOXWOOD + BERRY WREATH TUTORIAL
