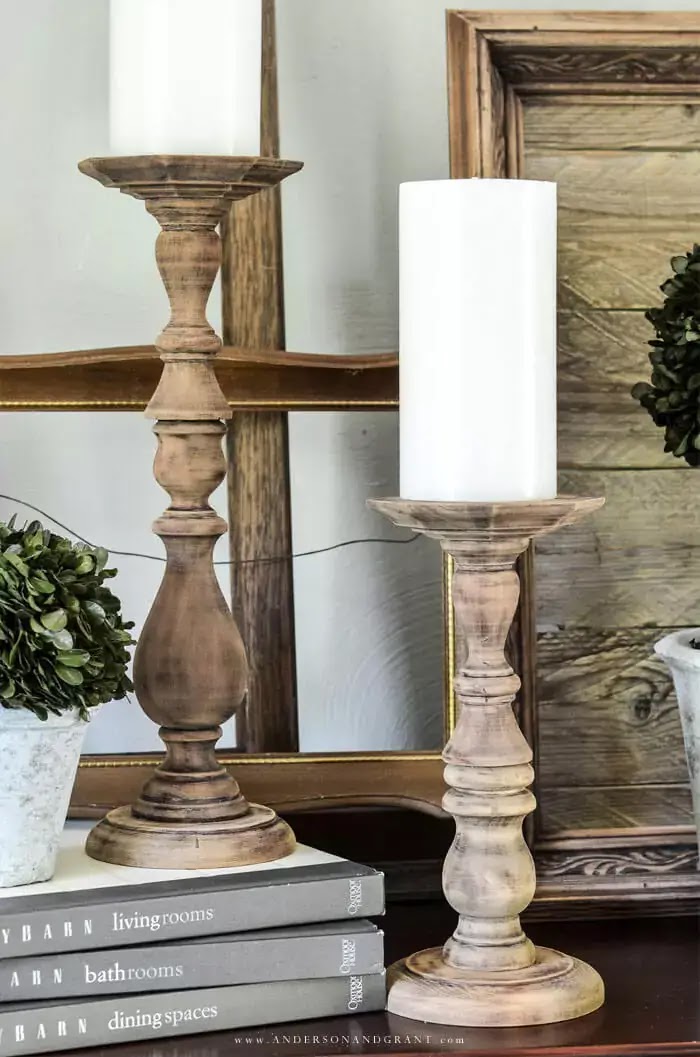
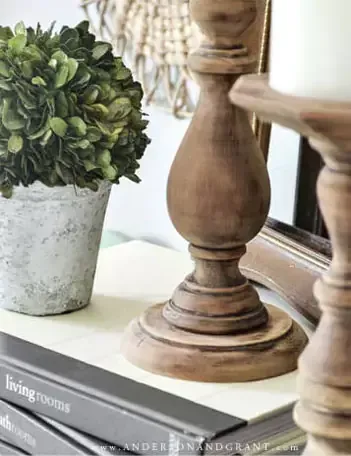
Follow this simple diy tutorial to learn how to make budget-friendly chunky wood candle holders with a rustic farmhouse style using thrift store candlesticks.
CREATE | Updated May 13, 2022
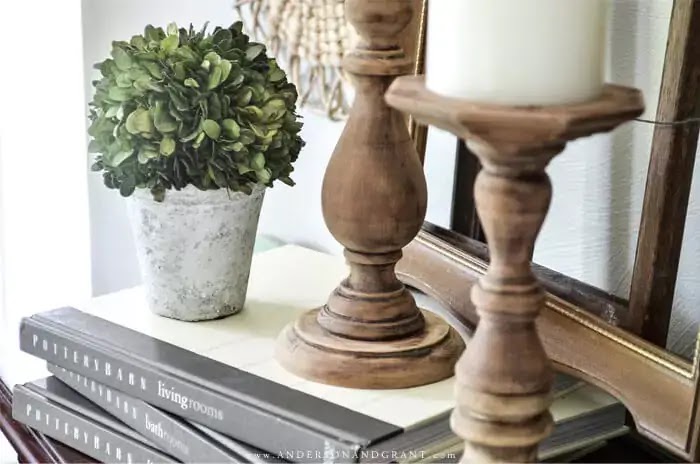
There are some things you should never walk away from at a thrift store.
Wood candlesticks are one of them. It doesn't matter what size or shape. It doesn't even matter if they are in good condition or not. You can normally find wood candlesticks for a dollar or two at Goodwill and after some sanding, they turn into very budget-friendly, high-end decor for your home.
If you keep your eyes open when shopping at a thrift store or even Ebay, you can amass quite a collection of mismatched wood candlesticks. After a little DIY, they will look beautiful together lining your mantel or down the center of your table.
And while simply removing the orginal finish and taking them back to the bare wood looks great and very rustic farmhouse style, this post is going to walk you through taking it one step further to create tall wood candleholders. You won't ever walk away from those lonely single candlesticks again!
LOOKING FOR MORE EASY DIY CANDLESTICK PROJECTS?: See how glass bud vases were transformed into distressed candlesticks?
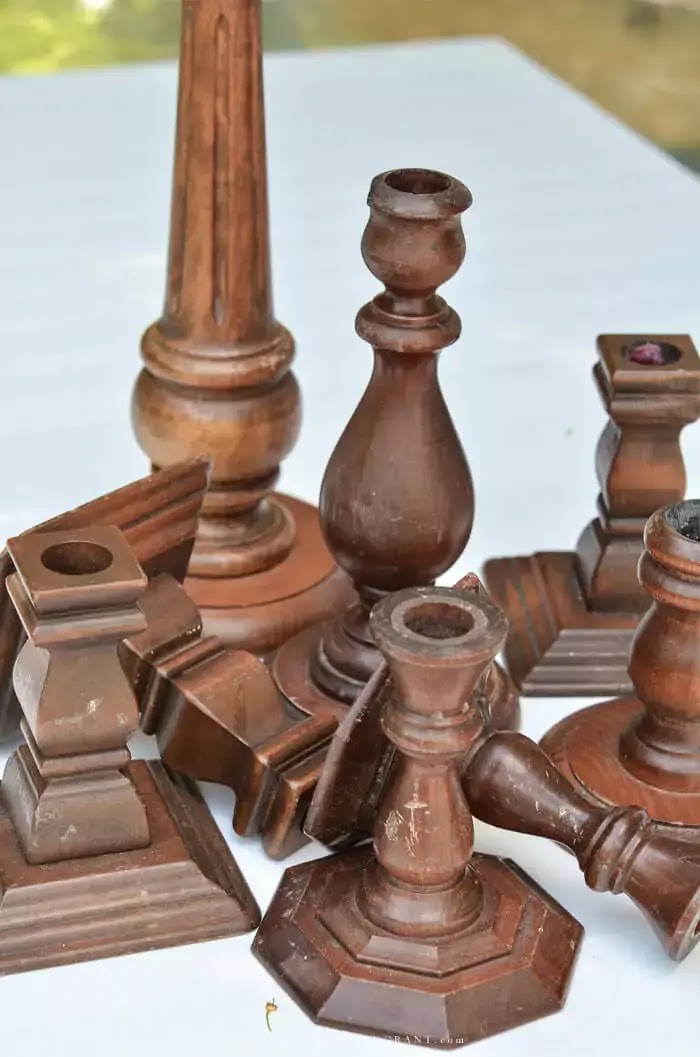
Start By Giving Your Candlesticks an Update
Oftentimes, secondhand wood candlesticks are pretty beat up. The finish may be scratched and dinged. There may even be chunks taken out of them. And the dark stained color is not really what is trending right now from places like Magnolia or McGee and Co.
The good news is, much like furniture, the wood can be sanded leaving behind a beautiful aged wood finish. It can be a little messy, but is a look that many love and appreciate.
If you aren't one of them, though, here are a few suggestions of other ways to update the look of your candlesticks before moving on to the next step of this DIY project:
- Paint the wood in any color you desire. Neutrals like white, gray, and black fit in with most decor. Or try a splash of color as a pretty accent. You can then distress the painted finish or leave it untouched.
- Coat the natural wood with hemp oil to bring out the richness of the wood.
- Embrace the condition and maybe even do add a little more "distressing"

Add Some Glue
The next step of the process to transform your dated wood candlesticks into stylish decor Joanna Gaines would be proud of might be a little hard for beginners, but you're going to want to glue two candlesticks together. I know....it seems a little overwhelming, doesn't it?
All kidding aside, you're going to want to use a craft glue or adhesive that will give you a strong, lasting bond to secure two candlesticks together. ( I like the added strength of Gorilla Glue for this project.)
- You can glue the candlesticks together by their tops (the end where you'd normally put the candle).This will give your candleholder two flat ends - one to sit on and one to hold your candle.
- Or if you'd like to create a taller candlestick, glue the bottom end of one to the top side of the other. In this case, you'll want a candlestick for the top that has a more narrow base.
- You can glue together two matching candlesticks if you have them, or mix and match. You can even glue three together for something taller.
For this example, I used two that matched for each of the candleholder tops and chose two that were similar in shape but different heights for the bottom section. This allowed me to create candleholders that were two different sizes, but that still coordinated.
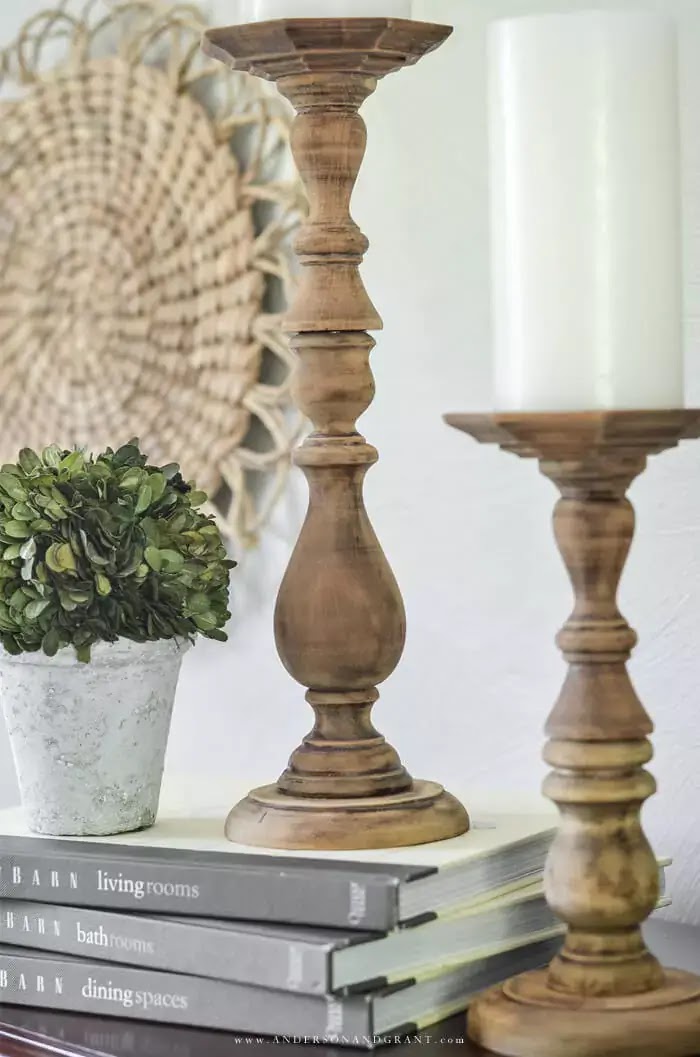
HOW TO UPDATE THRIFT STORE CANDLESTICKS
SUPPLIES
- Two or three secondhand candlesticks for each candle holder you want to make
- Sandpaper
- Craft glue or adhesive that will give a strong bond
INSTRUCTIONS
STEP 1: Begin the project by gently sanding away the stained finish on the thrift store candlesticks. Wipe them with a damp rag or paper towel to remove the residue.
STEP 2: Glue two of the candlesticks together either top to top for a pillar candleholder or bottom to top for a tall taper candle holder. Glue three together if you're looking for something taller.
You just need to make sure that what you glue together gives you a secure and stable connection. And you don't want to build anything that would be top-heavy and topple over.
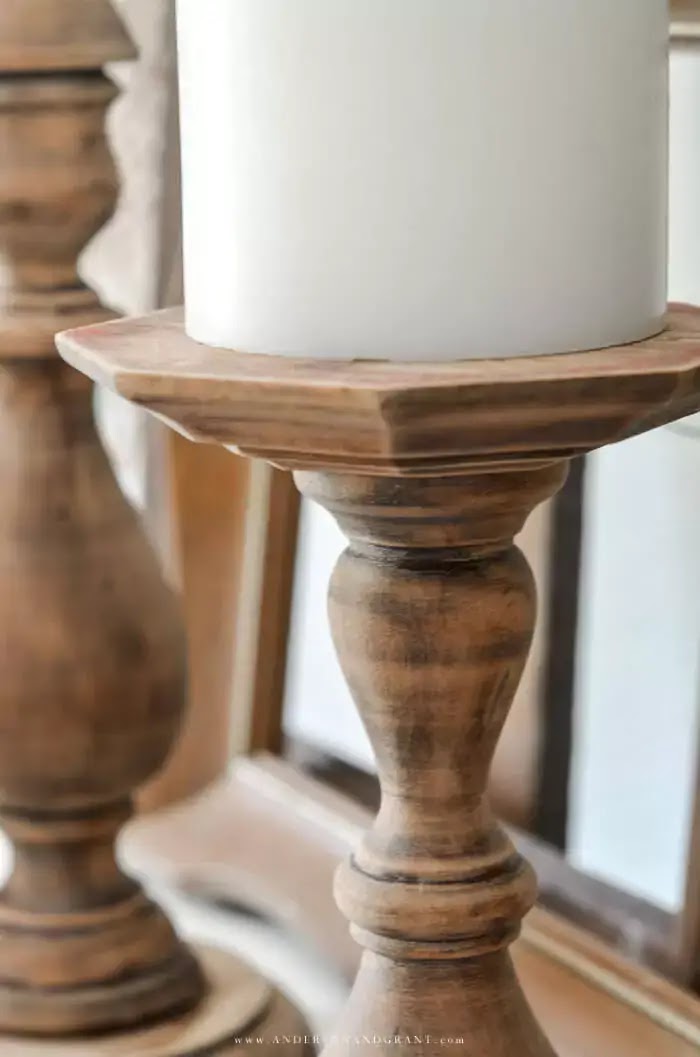

The possibilities are practically endless with the candlesticks you can create using this simple DIY idea. And you can decorate with them in so many different ways as well. Try building a few using this tutorial and mix them in with some other regular candlesticks for a collection that looks like it was gathered over time.
READ NEXT: Over 30 More Transformations of Secondhand Thrift Store Items
READ NEXT: Over 30 More Transformations of Secondhand Thrift Store Items
