Whether it is a broken down piece of furniture or a random thrift store find, I enjoy seeing things for what they could become rather than what they are. Sometimes I can instantly look at something and know what it could be. Other times, I need time to think about it. And then there are the times when I see something already made and know that I could DIY it with something else I've seen.

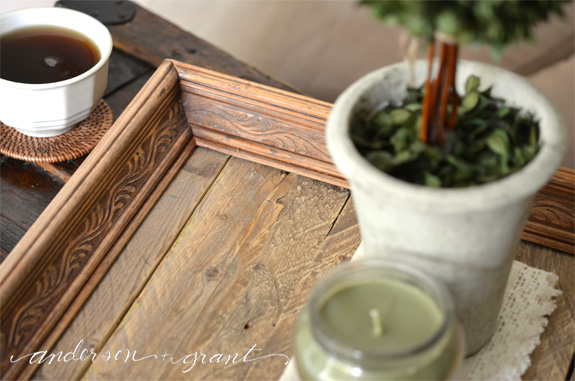
Today's project is inspired by all of the reclaimed wood trays that I've been seeing in stores and online. I love the look of the old wood of these trays, as well as the thick frame around the outside. For my DIY version, I decided to use a chunky wood picture frame paired with some aged wood.

Early in the summer my mom and I tore down the playhouse my dad had built for me as a child. Even though the wood foundation was no longer in a condition to hold up the walls, the wood pickets that boarded the outside were still in great condition. We saved many of the boards to use for various projects. They had the perfect aged look I was looking for.
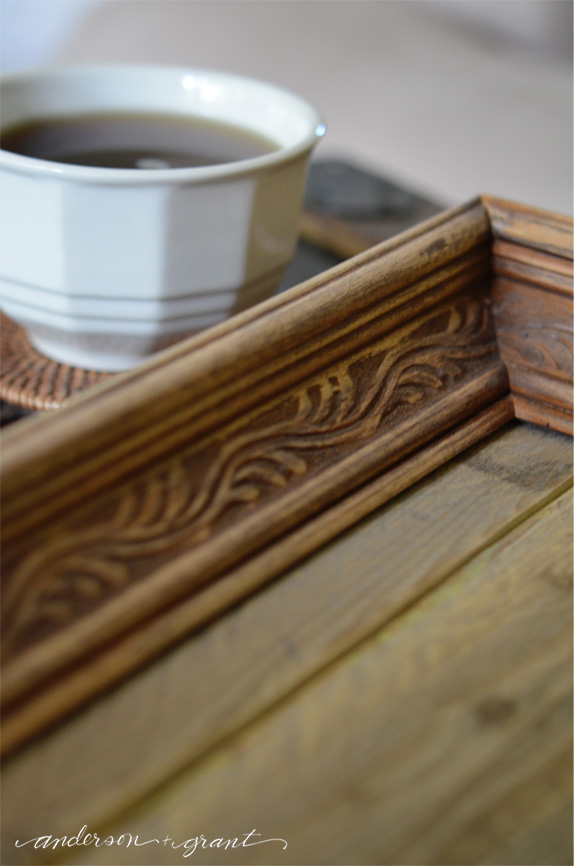
The frame came from my aunt. I had picked one up at Goodwill to buy when she stopped me and said she had one she no longer wanted. Her's is actually nicer because it has a great carved design on it.

So since I used the old wood and a donated frame, this whole project cost nothing to make! But if you'd like to make one yourself, it is still a very inexpensive project. The finished tray looks anything but cheap, though!

So here is the incredibly easy process for making this tray for yourself...
You'll need:
A chunky wood frame
Wood boards (My boards started out as fence pickets, which could be purchased new at a home improvement store. You could also use pallet wood or any other flat boards. You just have to make sure that the boards are not thicker that the inner portion of your frame.)
Nails

Remove the glass and art inside the frame. As hard as it was to say goodbye to this fabulous print, it had to be done to make my beautiful tray!
I sanded the frame to reveal the bare wood underneath.

Cut your boards to fit inside the frame. Using some thin nails, attach the boards to the underside of your frame where the picture would normally sit.

Flip the frame over and your tray is done! Can you get any easier than that? I'm so thrilled with how it turned out and love the look of the wood.

Trays can be so useful and versatile. In addition to using them for serving, they can be set on a dining table with a centerpiece or a coffee table with some magazines or decorations. If the surface needs to be cleared off, everything can be removed at one time by removing the tray.
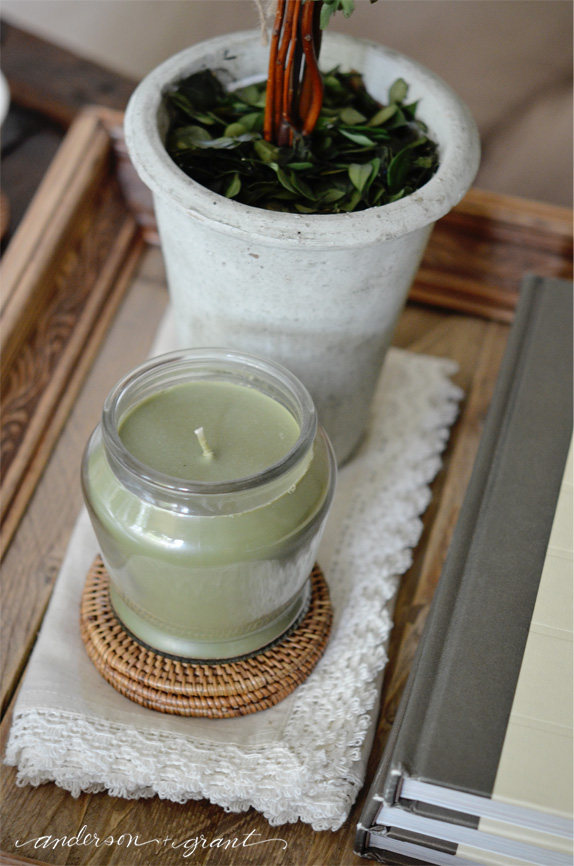
This project can be customized to your style. You can use new wood for a modern look or paint and distress the entire tray for more of a shabby look. However you choose to finish your tray, the project is incredibly simple and can be completed by anyone regardless of their skills.

So what do you think of my tray? Is it something you'll try making yourself?
