Please know.....many people have recently experienced clumping and overly-thick paint using this recipe. While it has always worked for me in the past, it is possible that the paint may have different additives to it now that do not mix well with the addition of the joint compound and water. You are welcome to try this recipe, but be sure that you follow the instructions below completely to ensure that it works for you.
I now use paint from Fusion Mineral Paint that provides a similar chalky appearance with no need for a top coat. You can buy it here (affiliate link).
For those of you who have been reading anderson + grant for some time, you may be saying to yourself, "Hasn't this post already been written?" And yes, it has. But my DIY recipe is still one of my most viewed and pinned posts almost two years later. And I use it constantly for furniture and projects that I post here.
Today is my blog's two year anniversary, so I thought it would be appropriate to revisit an older post and update it a bit. Sometimes I cringe when I see images pinned from the beginning days of a + g....The days before I had learned about appropriate lighting and staging and was using my point-and-shoot camera. There is also a lot of tips and tricks that I've learned along the way that are important for you to know.

I've painted quite a bit of furniture over the past two years and I can honestly say that I've never had a problem using this DIY recipe for chalk paint. The only chalk paint that I use is the homemade kind so I can't give you any comparison between it and something like Annie Sloan's brand of paint. What I can say is that the paint has a great finish and helps transform just about anything into a thing of beauty. It is an inexpensive way to get the look and finish of chalk paint, and is a way to use up some of the cans of household paint you may have already purchased.
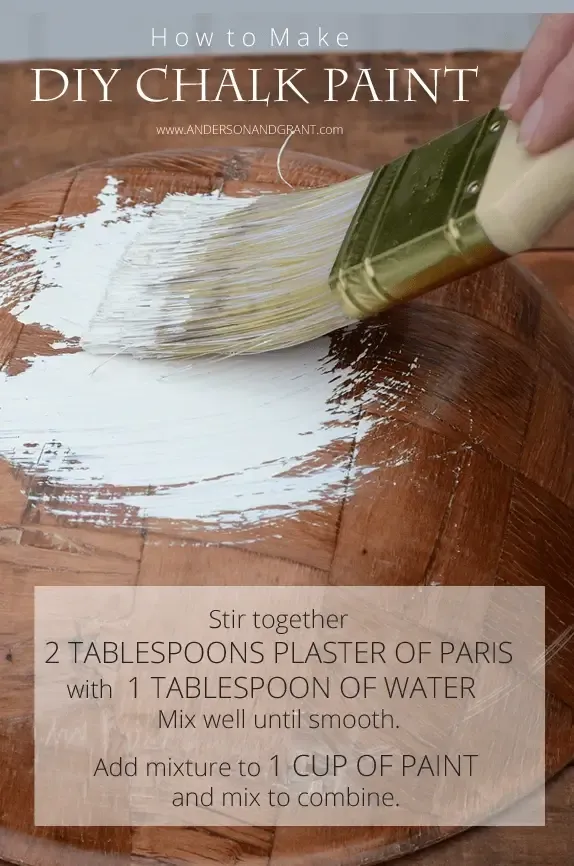
To make a batch of the paint, you'll need to combine 2 Tablespoons of Plaster of Paris with 1 Tablespoon of water in a small dish. Mix it well to eliminate any lumps that could turn hard later on. What you'll end up with is a thick, but creamy paste.
Add that to 1 cup of paint and shake or stir it well to ensure everything is mixed together. And your paint is ready to use!
(A recipe appears at the end of this post for you to pin.)

And now for some tips to help you cover just about anything with chalk paint......
Use cool water.
While making DIY chalk paint, I really have never paid attention to the temperature of the water. But a few people who have tried it with warm water have not had good results. So to be safe, don't use hot or warm water.Pick water-based paint.
People have commented that you should use flat paint. Again, I've never paid attention to the finish of the paint (although I would not use gloss paint) and have not had any problems. The samples that can be purchased at Lowes are satin and my furniture has always turned out fine with those. The paint that you use does need to be water-based rather than oil-based.In addition to using this recipe with wall paint, I've also made it with acrylic craft paint. It works perfectly for any small painting project you might have.
(See the next tip for instructions on how to measure ingredients.)

This recipe can be doubled or cut down based on the amount of paint you have.
If you remember that 1 Tablespoon is equal to 3 Teaspoons and 1 cup is equal to 8 ounces, you can continue dividing the recipe down to even add it to a 2 oz bottle of craft paint. I wrote a note and attached it to my box of Plaster of Paris so that I could remember how much of each ingredient to add to different amounts of paint.I wouldn't recommend doing MORE than two cups of paint at a time, though, just because it would be harder to get the paste mixed into the paint.
Measure out your paint.
My favorite thing to mix in is mason jars because they have the measurements on the outside. This helps you to know how far to fill the jar with paint. If you are using a jar that doesn't have the measurements, measure out a cup of water (or two if that is the amount of paint you're using), pour it into the jar, and then draw a line on the jar with a Sharpie where the water fills to. It is much easier to do this than trying to actually measure paint.
Chalk paint can go over just about anything, including glass and metal.
When coating something with a smooth surface like that, be sure to allow a day in between coats for the paint to properly adhere. After a couple of coats, the surface will look the same as painted wood does.Start your painting project with sand paper.
When painting wood that has a very smooth or shiny surface, rough it up first with some sand paper. While the paint will most likely adhere well without the sanding, I don't like to take chances.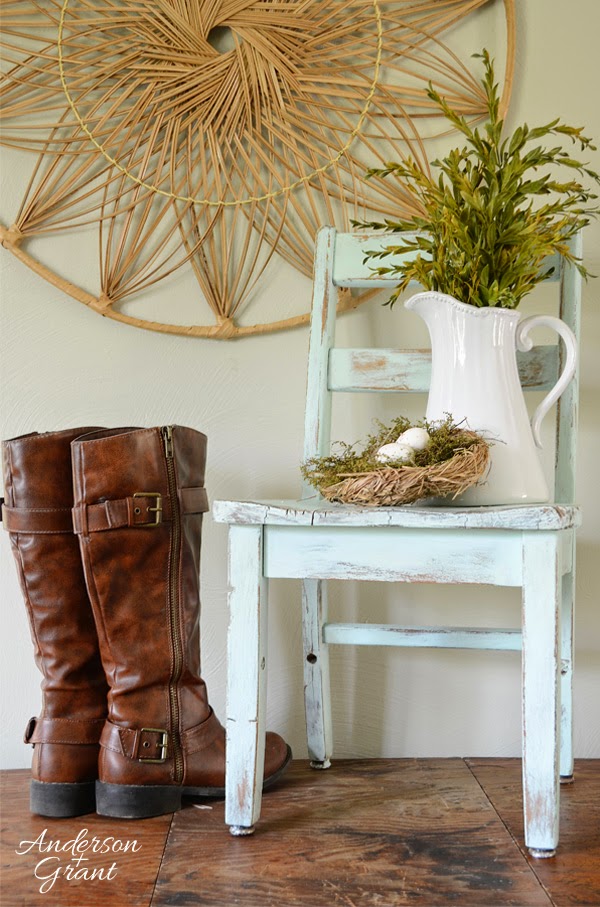
Chalk paint can provide a great chippy paint look.
To get a chippy look when I'm done, I like to rub clear candle wax over areas that I do not want the paint to adhere to. The candle wax also protects the surface underneath if you are painting over a stained finish and don't want to go down to the bare wood.My other technique of getting a look of worn paint is to not do a great job painting, as odd as that sounds. You can learn more about that technique here.
Finish your project by protecting your painted surface.
When you are done painting, protect your finish using paste wax or polyurethane. I love the result of using the paste wax from Miss Mustard SeedAs much as I love the wax, polyurethane works well, too. If you are only planning on doing a small project, spending money on the wax may not be what you want to do. I will warn that using the polyurethane over white paint will tend to yellow the paint.

Use cheap brushes.
I am really hard on my brushes. Because of that, I like to pick up my brushes for painting furniture from Dollar Tree. They are not the best of brushes, but they are perfect for painting furniture and then can just be thrown them away when I'm done.Chalk paint is thick, so it does take more work to clean it out of a brush. In between coats, you can keep the brush in the refrigerator so that it doesn't need to be washed out. Wrap it in plastic wrap or invest in a cover to put your brush into.
Store your paint in a cool, dark place.
Many people have said that the paint doesn't last long after it has been mixed. But again, I've had no problems. I have paint that I mixed up over a year ago and it is still fine. Don't expose it to extreme temperatures and your paint should last a long time.I hope these tips and tricks will help you to be successful sprucing up just about anything with a little chalk paint. Happy painting friends!