
There are times when I believe fate plays perfectly into my DIY world.
When cleaning out my grandma's basement last month, my mom found an old wood crate that was missing its bottom and had a broken board. Garbage, right? For most people, yes. But because she knows me so well, she asked if I wanted it. Perfectly aged wood? Yeah! I can use it for something!

Then I'm browsing through Magnolia Market looking at all the special treasures Joanna Gaines has for sale. And there is my DIY project.....a Dutch Tulip Crate. It was like my broken down crate was made to be repurposed. It found a new life (actually two, since I was able to make multiple crates). I've been lusting after these crates for months after seeing them on different blogs. But paying $40-$50 isn't my style. Thank you fate for providing me with a project and all the supplies I needed to create this fabulous, rustic tray!

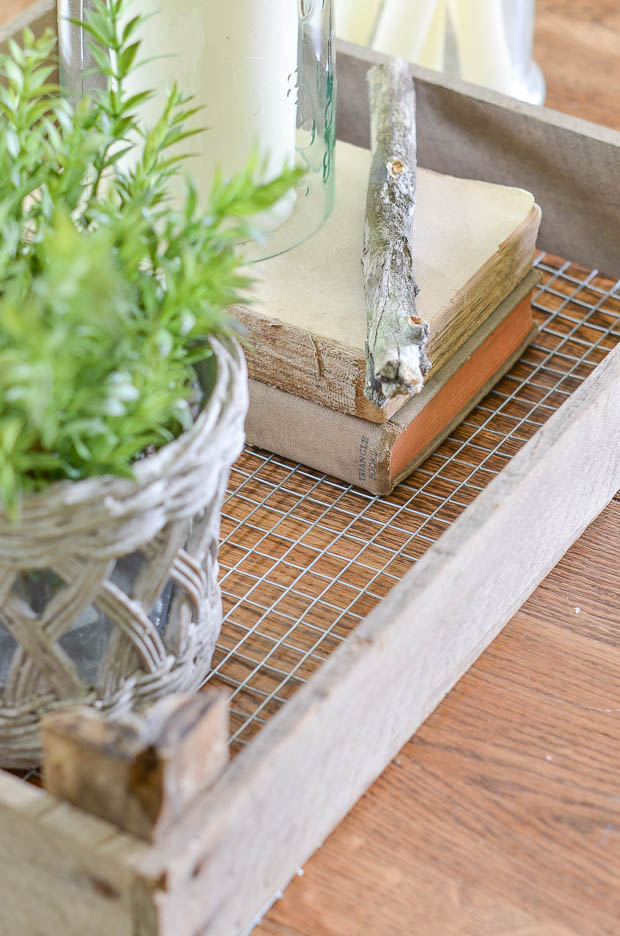
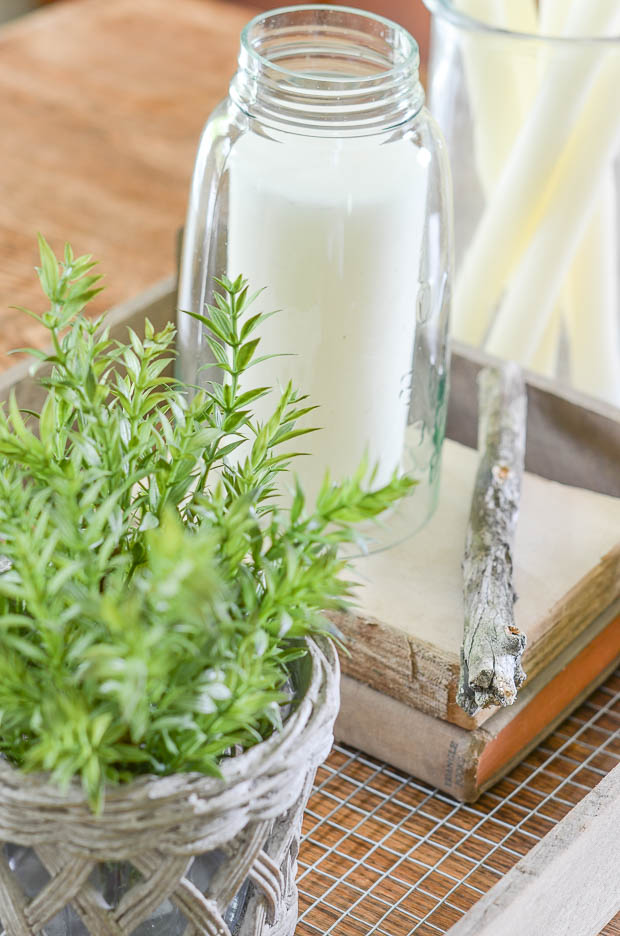
Theses "trays" were originally used to force tulip bulbs to grow. The metal mesh base would allow air to circulate around the bulbs so that the tops would not rot. They were able to be stacked on top of one another using the wood blocks in the corners. And the outside was stenciled with the grower's name.
Are you interested in how I transformed my broken crate into a Joanna Gaines Tulip Crate? Here's what I did....
Joanna Gaines Inspired Dutch Tulip Crate DIY
Here is the before picture of my crate. As you can see, it was made of pretty wood, but not at all useful with a broken bottom.

I began by cutting the crate apart into three sections just underneath the board above. By cutting here, I was left with the sections in the corners that would stick up above the crate.


Then I cut hardware cloth (available at the hardware store or online - affiliate link) into a rectangle the size of my crate. I used 19 gauge hardware cloth with 1/2 inch wire mesh.

The hardware cloth was stapled onto the underside of the crate. You don't need to staple over each wire of the hardware cloth, but don't leave large spaces in between either.
Mine could have used more staples, but the wood is old and a little brittle, so I opted for just making sure it was secure to the bottom of the crate. You'll see in some of the picture it isn't attached completely, but I'm okay with that since it is something I'm keeping for myself.

The only difference between my tulip crate and the real thing is that I'm missing planks of wood underneath the crate. As soon as I can find some aged wood that will match the finish of the crate, I'll be adding them. Until then I've got the look I was going for.
I'm not telling anyone to go out and destroy a perfectly good vintage crate to make this project. This one was not going to serve it's original purpose anymore and maybe you'll be "lucky" enough to find something like this. But new wood crates are available at any craft store and there are numerous tutorials out there for aging new wood. Those can be cut apart and used to create your own version of this DIY.


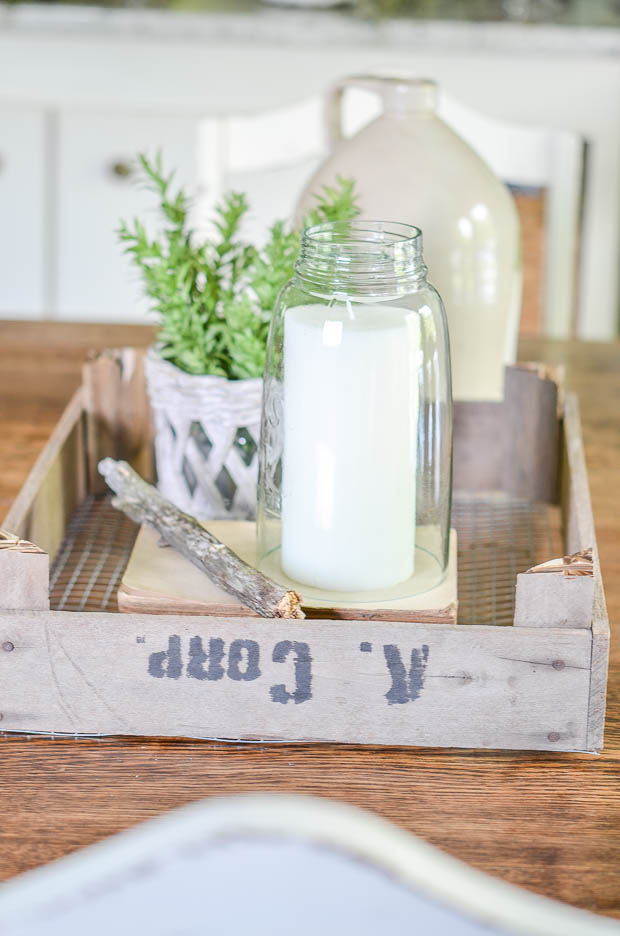
Whether you buy a vintage version or make your own, Dutch tulip crates are a great way to add a rustic touch to your home. They can also be a bit of a conversation piece if you tell you guests about their original use. Use them as a tray as I'm showing here or create a unique way to store or organize objects around the house.
Thanks so much for letting me share with you today. I'd love to know what you think of my project using an old crate! What would you display in yours?


** This post may contain affiliate links. You can view my full disclosure here. **