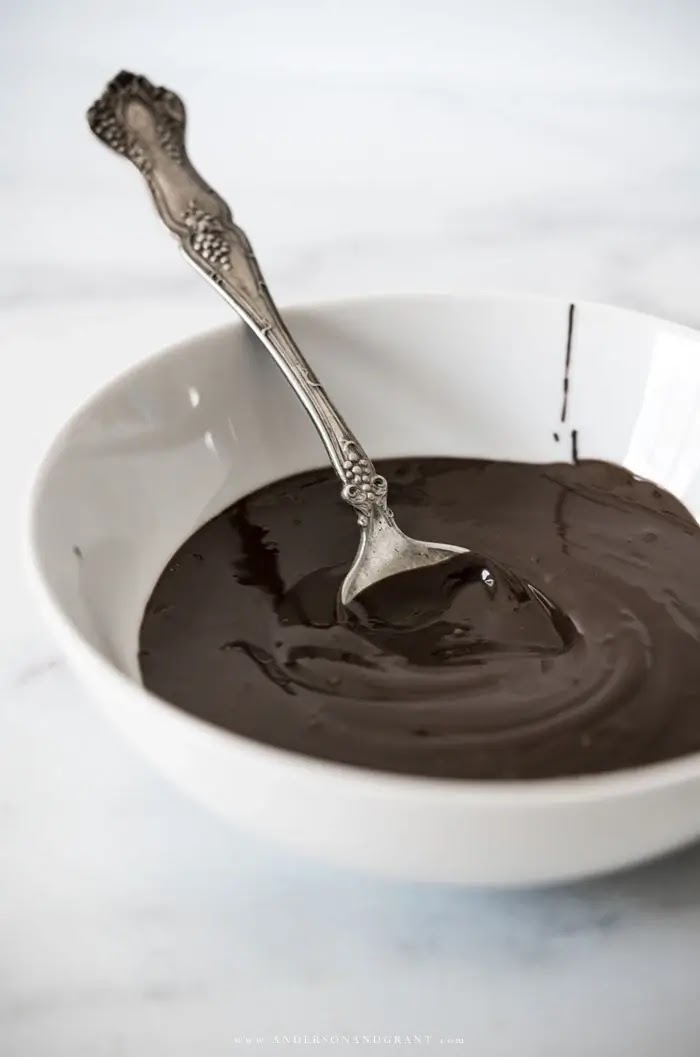
Struggling to find the best way to melt chocolate chips without letting them burn or turn hard? Using the oven instead of the stovetop or microwave is the most efficient way to get a silky smooth consistency without the problems or constant attention the other methods require.
COOK + BAKE | Updated March 24, 2023

Without a doubt, just about everything is better when dipped in chocolate.
And let’s not forget about melt-in-your-mouth chocolate covered cherries, a silky ganache, or drizzle over cookies, ice cream or even waffles. There are countless ways to use chocolate in its melted form, but getting it to that perfectly smooth and glossy state can be difficult.
Most will gravitate to using the double boiler method or microwaving chocolate chips, wafers, and chunks, but one wrong move and you’ll likely end up with something burnt, chunky, or with a clay-like consistency…..all three unusable. And you need to stir quite often and pay close attention throughout the melting process.
The key to no-fail chocolate melting is your oven. It works for all types of chocolate (white, milk, dark, semi-sweet, bittersweet, and unsweetened) and while it may take a little more time than the other methods, melting chocolate in the oven requires almost no focus other than stirring a few times until it is ready. As long as you watch for it to reach the almost completely melted state and then remove it from the oven, you’ll always have silky smooth (and not burnt) chocolate without the hassle.

HOW TO EASILY MELT CHOCOLATE IN THE OVEN
Basic Chocolate Melting Tips
There are a few things you should know about melting chocolate, regardless of the type or your melting methods.
- Make sure the tools or ingredients that come into contact with the melted chocolate are at room temperature. Chocolate doesn’t like to be shocked by anything cold. Using a cold metal spoon, pouring it into a cold bowl or adding a cold flavoring will give the chocolate a grainy texture and could turn it into a hard lump that can’t be melted again.
- Don’t allow moisture near the chocolate. Even one drop of water can cause chocolate to “seize” making it dry, clumpy, and unworkable. The tools you use (including the knife and cutting board if you are chopping a chocolate block) should be clean and thoroughly dried before you begin melting the chocolate. And don’t ever place a lid over your melting chocolate because condensation will collect under it and drip down into the chocolate.
- Always melt slowly at a low temperature Using high heat is risky because it doesn’t give the chocolate a chance to gradually break down and leads to grainy or lumpy chocolate.
- Only melt the amount of chocolate that you can right away for your recipe. The consistency and texture of chocolate changes once it has been cooled.
- Higher quality chocolate has the best flavor. All chocolate is delicious and will melt, but good-quality chocolate has a higher cocoa butter content and will melt easier and taste better.
- Small chunks of chocolate melt quickly and evenly. Bars and blocks should be chopped or shaved into uniform quarter-inch sized pieces because large chunks break down unevenly causing the chocolate to overheat and burn before completely melting. Chocolate chips, melts, chunks, and small wafers do not need to be chopped.

Tools You Need to Melt Chocolate in the Oven
You really only need two tools when melting chocolate in the oven – something to put the chocolate into and something to stir with.
- OVEN PROOF BAKING DISH
- SOMETHING TO STIR WITH: Wood spoon, rubber spatula, or spoon
- CUTTING BOARD + KNIFE: If you are melting a chocolate bar or block

How to Melt Chocolate – The Oven Method
STEP 1: Preheat your oven to 190°F (88°C) or the lowest temperature your oven will go if it can’t go that low.
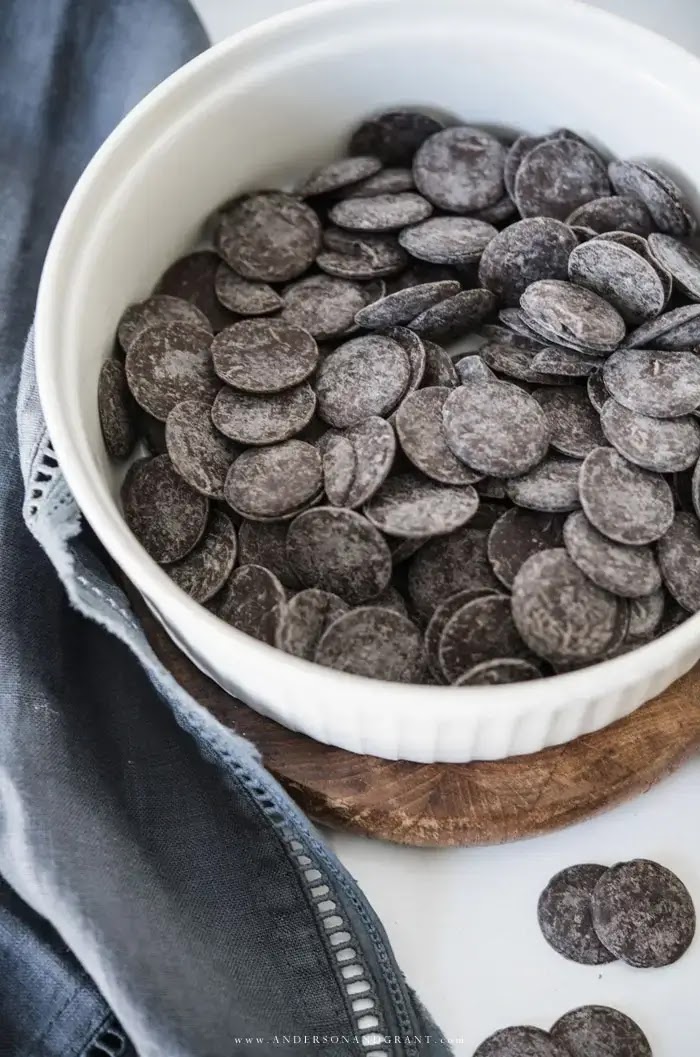
STEP 2: Pour your chocolate chips, wafers, chunks, or chopped chocolate blocks into an oven safe baking dish.
STEP 3: When the oven has reached your desired temperature, turn it off and set the baking dish of chocolate uncovered inside the oven.
STEP 4: Leave the chocolate in the oven for 20 to 30 minutes, gently stirring occasionally to ensure that the chocolate is melting thoroughly. Stirring the first few times may seem unnecessary because the chocolate won’t be melted yet, but it will help evenly distribute the heat.
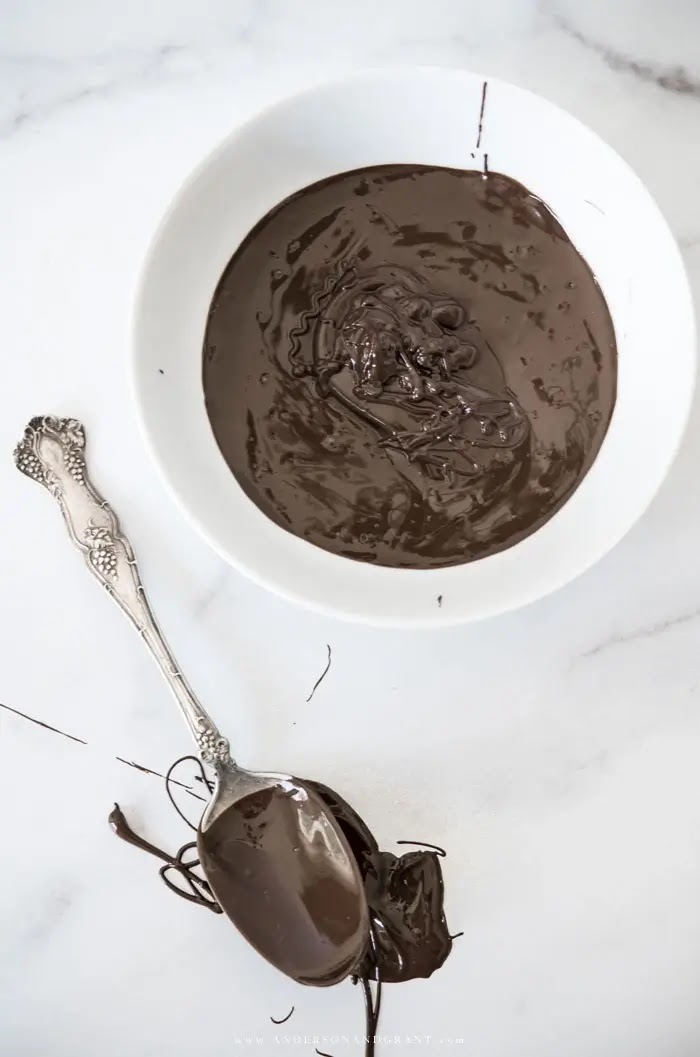
STEP 5: When you see that the chocolate is almost completely melted, remove the baking dish from the oven and continue stirring until all the final bits have broken apart and you have a smooth consistency. Chocolate holds its shape even when fully melted and needs stirred to completely break down. Waiting for the chocolate to look smooth in the oven leads to overheated and burnt chocolate. The residual heat in the chocolate is enough to complete the melting process when removed from the oven.
The amount of time it takes for your chocolate to melt depends on the type of chocolate you are using. White takes the least amount of time to melt and semi-sweet takes the longest, with the other varieties falling in between.
STEP 6: Use your melted chocolate as desired. If at any point the chocolate starts to harden from sitting out too long, stick it back into the oven for a few minutes to melt again.

What to Do with Leftover Melted Chocolate
Many times, you may have chocolate left after you have finished dipping your strawberries, making candy, or drizzling over baked goods. Here are a few suggestions for what you can do with the remaining melted chocolate:
- Stir in nuts, raisins, or dried candies and drop by spoonfuls onto a parchment lined baking sheet or into paper candy cups and chill.
- Make chocolate bark by spreading the chocolate into a thin layer onto a parchment covered baking sheet with an offset spatula. Then sprinkle with nuts, dried fruits, raisins, coconut, crushed candies, or fleur de sel. Stick the pan into the freezer to allow it to harden before breaking it into small pieces.
- Create a chocolate fondue by adding just enough cream to thin the chocolate into a pourable consistency. Dip fresh fruit, cookies, cubes of cake, caramel candies, or pretzels.
- Make a rich hot chocolate by adding the melted chocolate to heated milk.
- Enjoy a dish of ice cream drizzled with your remaining melted chocolate.
- Dip fruit such as whole strawberries, cubes of pineapple, or slices of banana. Place them on a parchment lined baking sheet until they are solid.
READ NEXT: Your Complete Guide to Making Gourmet Chocolate Dipped Strawberries at Home

This method of melting chocolate chips in the oven is simple and foolproof as long as you follow the steps outlined here. Why not let the oven do the work for you melting your chocolate to a smooth and silky consistency?
CONTINUE READING THESE POSTS IF YOU'RE INTERESTED IN THE BAKING 101 SERIES: A collection of posts helping you to understand the how and why behind improving your baking skills.
SHOULD YOU USE SALTED OR UNSALTED BUTTER?
ESSENTIAL BAKING PANS

