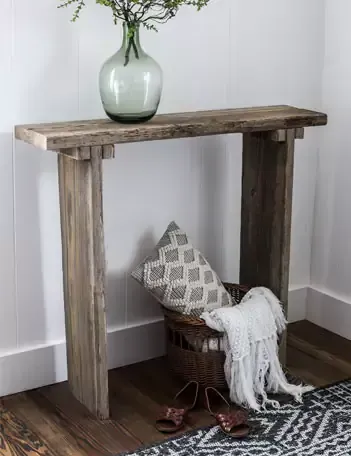
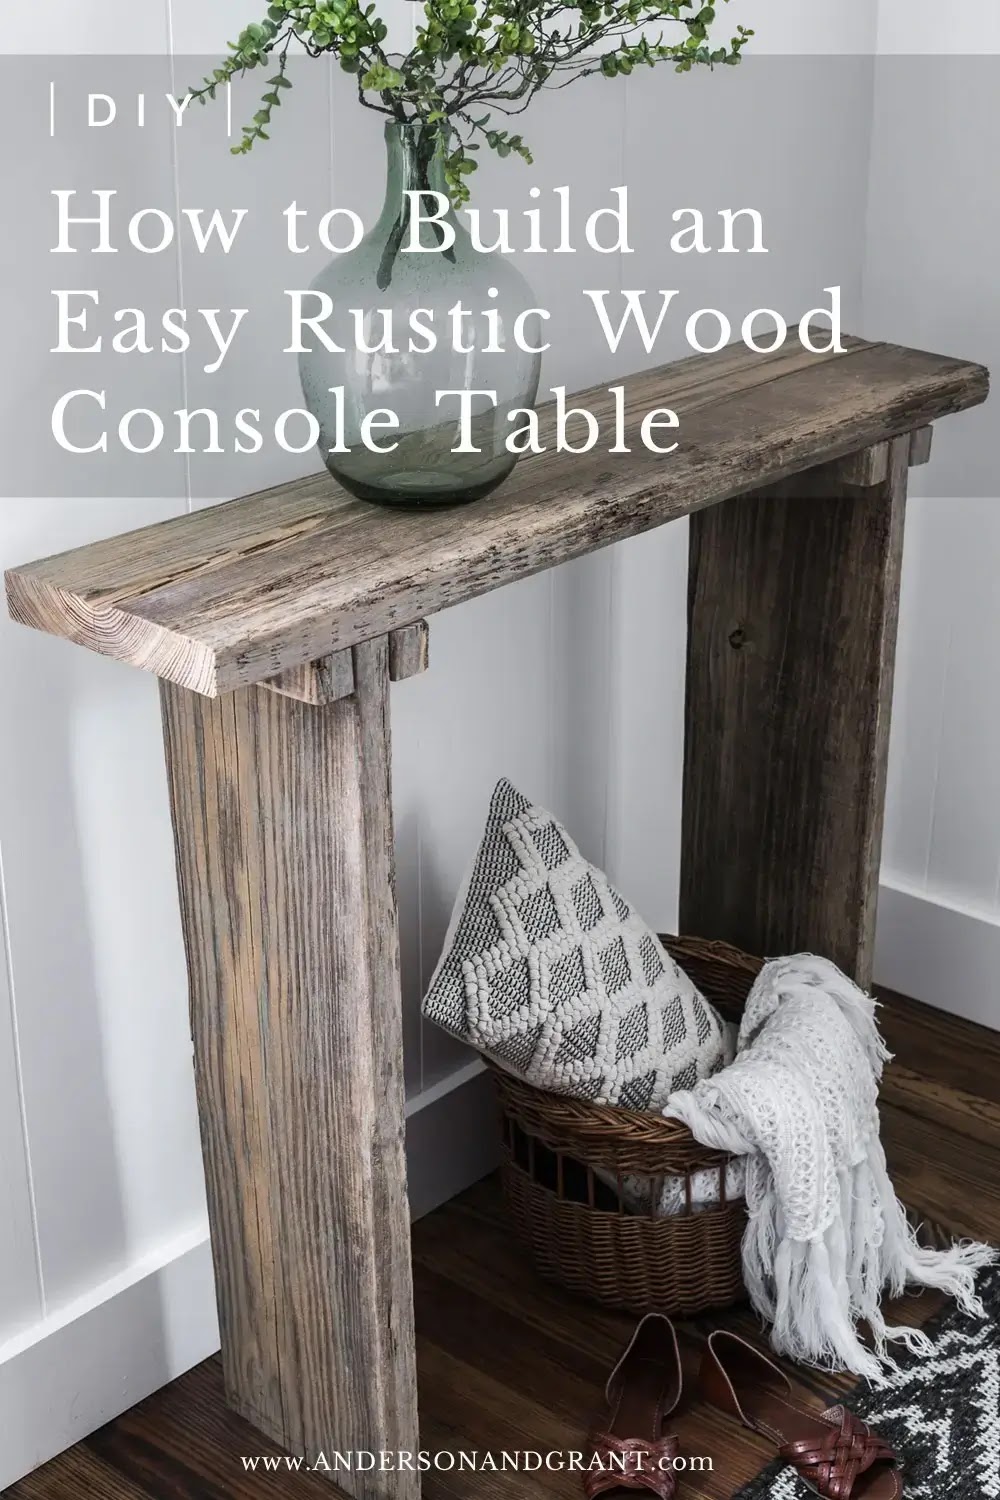
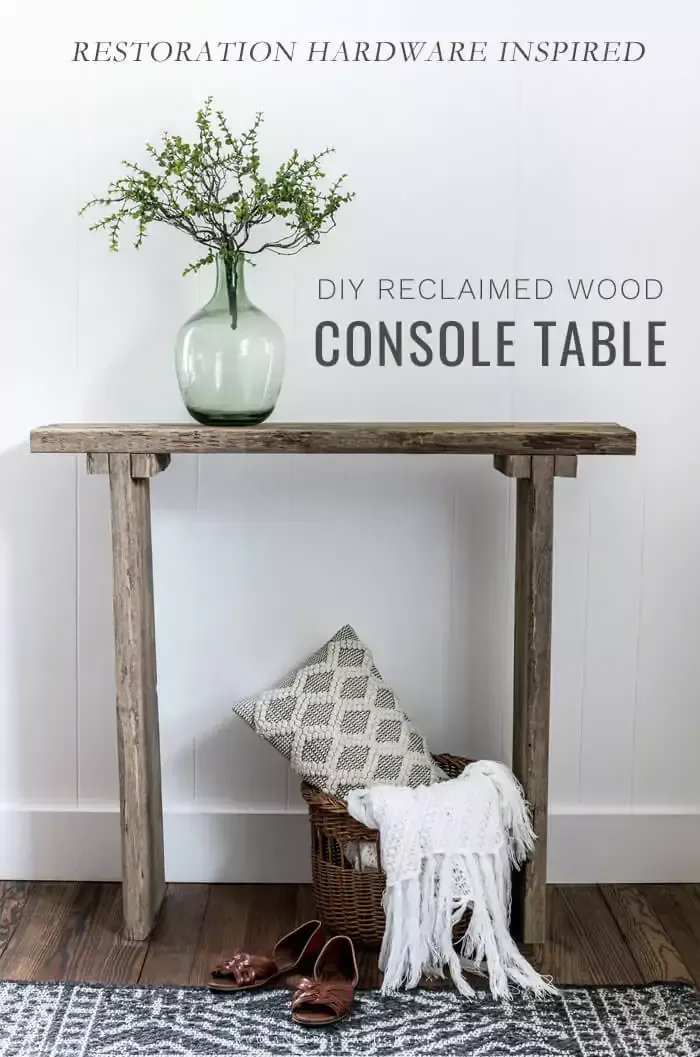
See how old reclaimed wood boards were used to construct a primitive style diy entryway table inspired by a very pricey Restoration Hardware console.
CREATE | Updated March 20, 2023

Restoration Hardware has some beautiful pieces of furniture and unique designs, but that comes with a hefty price tag.
As much as I love the look, I can't think of anything I've ever found that I'd be willing to pay the price they are asking. It is still fun to look, though.
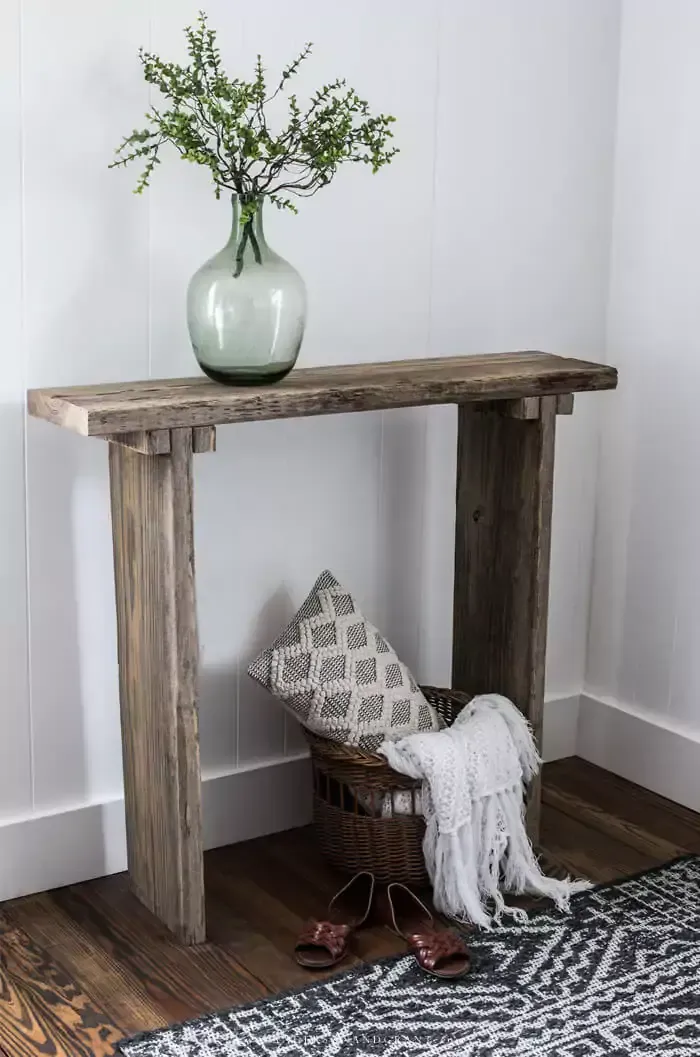
While pulling together design plans for my entryway and sourcing different console table choices, I came across the Nordcasa Console Table from RH. It is primitively constructed of just three boards and I really loved the rustic look. But at $2640, it was way out of my budget (and too large for my space).
After successfully figuring out how to construct an entire faux fireplace from scratch for my living room, I decided this simple table was something I could handle building for my entry. And I even had some thick "reclaimed" boards lying around that would be perfect.
READ NEXT: DIY Picture Ledge Shelves
This post may contain affiliate links which means I receive a small commission if you choose to make a purchase using the link, but there is no additional cost to you. For more information, you can view my disclosure policy.
Where I Found My Reclaimed Boards
When I was a little kid, my dad made a sandbox for me in the backyard. Then when I got older, the sandbox was used as a raised garden bed and then later a flower box.
But age and weather began to take it's toll and the sandbox was deconstructed years ago. One board was beyond saving, but I had put the other three into the shed for a "future project."
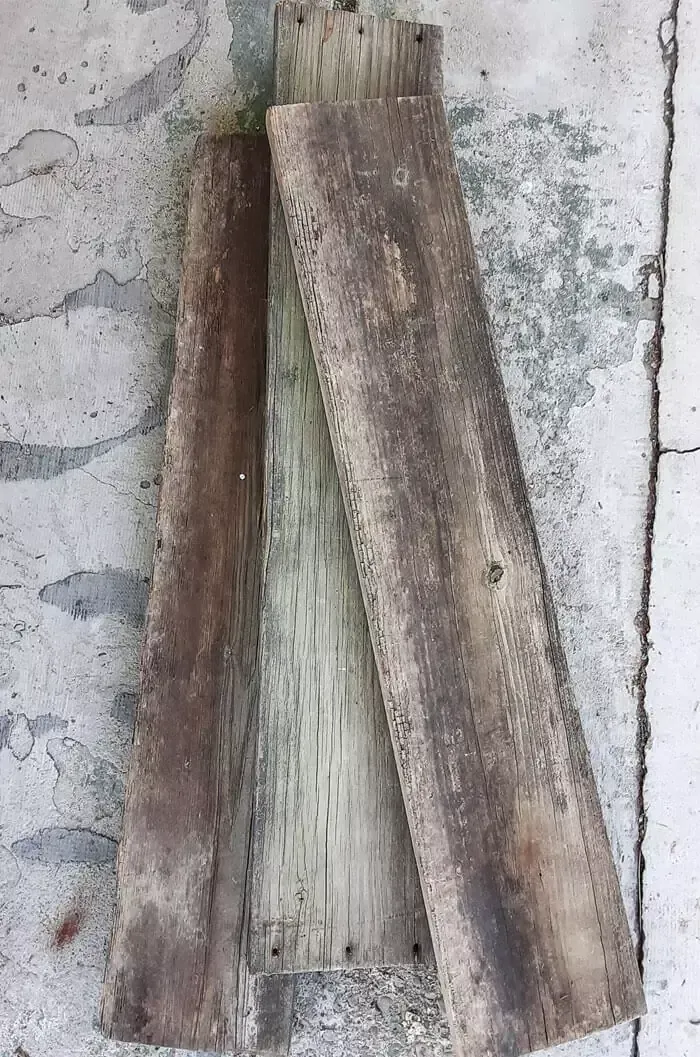
Being outside for about 30 years gave the boards a nice worn, reclaimed wood look, especially where they had been buried underground making them just what I needed for this project.
Maybe you have boards lying around in a similar condition or know someone who is tearing down an old barn or shed. There are companies online like Longleaf that sell reclaimed boards and you can check at your local Lowes or Home Depot to see if they have anything rustic in stock.
Customizing Your Own Reclaimed Wood Table
If you are interested, this really is an easy DIY style console table to build and can be customized according to your style and preferences.
- It can be made more contemporary just by using smooth sanded boards from the hardware store over more rustic ones.
- While I was limited to the width of the boards I had, you can make your own console table as wide or narrow as you'd like. You can choose a wider width of board or attach multiple smaller boards together for a solid surface.
- The top could be made wider than the legs for an alternate look.
- The table could be stained, painted or left bare and rustic as I have done.
A supply list and complete instructions appear near the end of the post.

How I Built My RH Inspired Console Table
After cleaning them up, the boards were gently sanded by hand, not so much to remove the weather and wear that I wanted, but just enough to freshen them up and take off the old remnants of paint that remained.
Then, I cut my three boards to length using a sliding miter saw. I made this table pretty high at 35 inches, but you could choose any height that you want. Remember to subtract the thickness of your top board from your desired height to find the length of your side boards.
My top board was cut to be 40 inches long so that the table can be centered where the mirror will hang in my entryway (which is in line with the light fixture). Your top board can be cut to whatever size, bigger or smaller, that will fit into your space.

My original design plans involved using metal corner braces to attach the top to the sides. Easy. They form an L shape, you add two screws into the top and two screws into the side, and Home Depot (online) had some that came in black to stick with my style of the room.
But after placing my order, I received a notification that this simple hardware store purchase was going to be backordered for months. I needed to get this table done in time for the One Room Challenge reveal, so waiting wasn't an option.
Plan number two involved me cutting 1 1/2 inch wide strips from my leftover rustic wood scraps to create my own brackets.
This method adds to the primitive handmade look of this console table, which I love, but probably wouldn't work if you wanted a clean line, traditional piece of furniture.
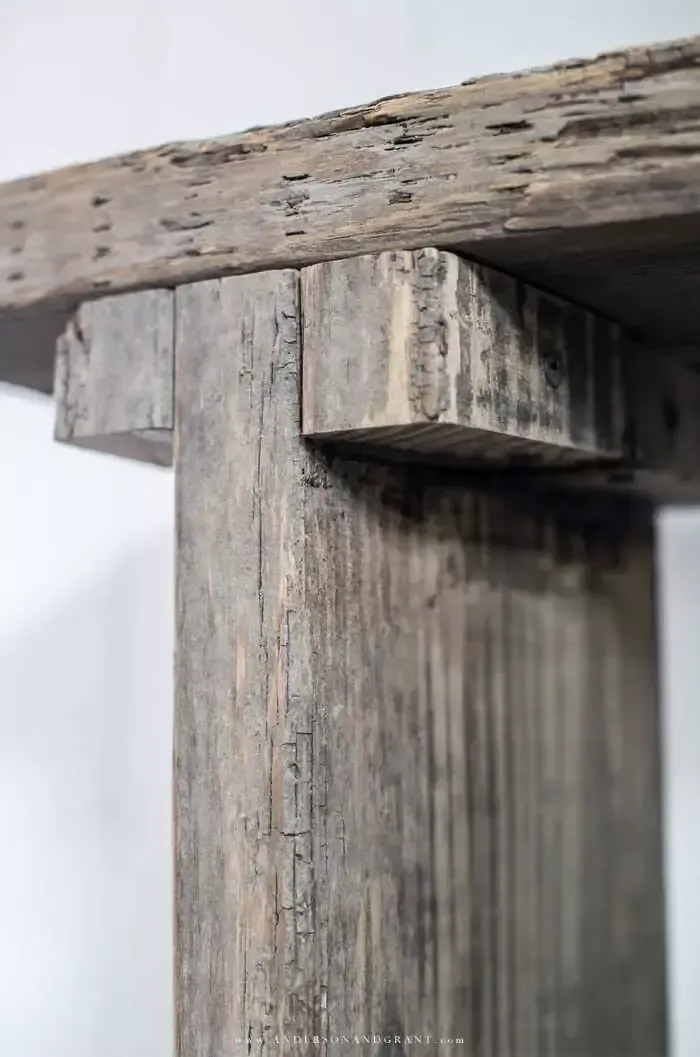
I laid all of my pieces out on the floor making sure that the most rustic parts of the boards would be most visible.
Then, using wood glue and 2 1/4 inch wood screws, I attached everything together.
- First, I applied wood glue to the two sides of the brackets that would be held against the table's top and sides.
- Then, before drilling the screws into the wood, I drilled pilot holes for the screws to go into. Because of the condition of the old wood, these thin pieces were a bit fragile and the screw would have torn the wood apart without the predrilled holes. Predrilling makes the job cleaner and easier overall getting the screws into the board.
- Finally, I screwed the brackets onto both sides of the upright "legs" of the table. With everything laying upside down on the floor, I screwed the brackets into the underside of the tabletop.

I wanted to keep the natural, reclaimed look of the wood, so did nothing else to it. As a console table in the entry, it shouldn't need the protection from moisture that a coffee table or end table would with beverages sitting on them.
You may want to paint or stain the wood, or just seal it with a clear polyurethane or wax finish.

In my eyes, this handmade entry table is 100x better than that pricey Restoration Hardware version, both because it was custom fit for my space and because it was constructed of the wood from my childhood sandbox made by my dad.
It's fun to see meaningful things getting a second (or in this case, third) life to still recall all the original memories.

In case you are interested in building a similar rustic reclaimed wood console table for your own home, here are some general plans to follow....
HOW TO BUILD AN EASY DIY ENTRWAY CONSOLE TABLE
SUPPLIES
- 4 - 3 inch corner braces
- Wood screws - the length should be 1 1/2 times longer than the thickness of your boards (Check to see if screws are included with your corner braces before buying.)
- Wood in your choice of type, width, and thickness - You may need to attach multiple boards together to get the depth of table that you want.
- Stain or paint (optional)
- Sandpaper
- Wood glue
HELPFUL TOOLS
- Sliding miter saw
- Cordless drill with screwdriver tip and drill bit
INSTRUCTIONS
STEP 1: Cut your boards to the length and height that you desire. The average console table is 30 inches tall, but can range from 28 to 32 inches. Remember you'll have to subtract the thickness of the top board from your desired height to find the length of your table legs. Cutting your boards is most easily done using a miter saw, but could also be done with a jig saw or hand saw. Your local hardware store may cut them to length for you if you ask.
STEP 2: Sand any rough cut edges on your boards.
STEP 3: Measure the location for your corner braces. Two braces should be used on each inside side of your table. Mark the holes and drill pilot holes for the screw width you are using.
STEP 4: Using a screwdriver tip on your drill (or by hand with a screwdriver), twist the screws into your predrilled holes in the sides of your table.
STEP 5: Put your console tabletop on the floor, top side down. Again, measure for the location of your brackets and predrill the holes.
STEP 6: Apply a layer of wood glue to the top edge of your console table leg. Set it in place and screw the brackets into the boards using your predrilled holes.
STEP 7: Paint or stain your table according to your desired look.
OTHER DIY FURNITURE PROJECTS YOU MIGHT ENJOY
RECLAIMED WOOD MAKEOVER FOR A SECOND-HAND TABLE - such an easy way to get the look of aged, unfinished wood!
UPDATING A RUSTIC FOOT STOOL WITH TWINE
ONE ROOM CHALLENGE - See the transformation of my fixer upper entryway!
Week No. 1 - Entryway Before Tour
Week No. 2 - Demo in the Entryway
Week No. 3 - Entryway Design Plan
Week No. 4 - Cleaned Up and Painted in the Entryway
Week No. 5: Cancelled
Week No 6: RH Inspired Console Table DIY - You are here!
Week No 7: Progress on the Bathroom Door
Week No. 8: Modern Entryway Reveal
